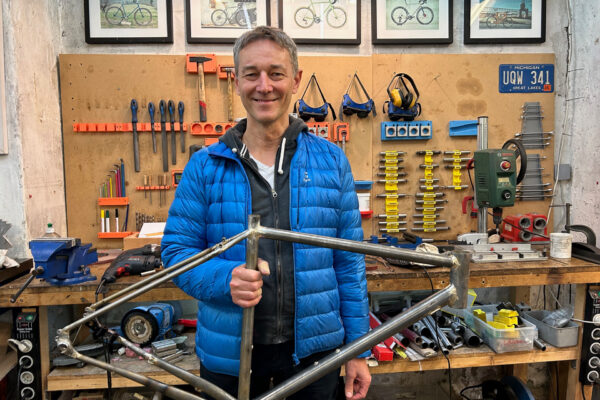
Frame Building Course: Fillet Brazed (without lugs)

Build your own frame!!!

In this 5 day frame building course you will:

* learn the technique of fillet brazing tubes together

* help to design the frame geometry to fit your riding style and size

* cut the tubes, file, and braze them together

* at the end you will have built your own custom fillet brazed frame that you can be proud of and enjoy for years to come!

Fillet. Brazed. Frames.

If you like you frame clean and simple, and less is more, this is the course for you.  The tubes will be brazed together with brass, without any extra pieces (lugs) connecting them.  When done well, this type of connection is very strong over time because stresses from riding are well distributed. If anything fails, it won’t be the joint.

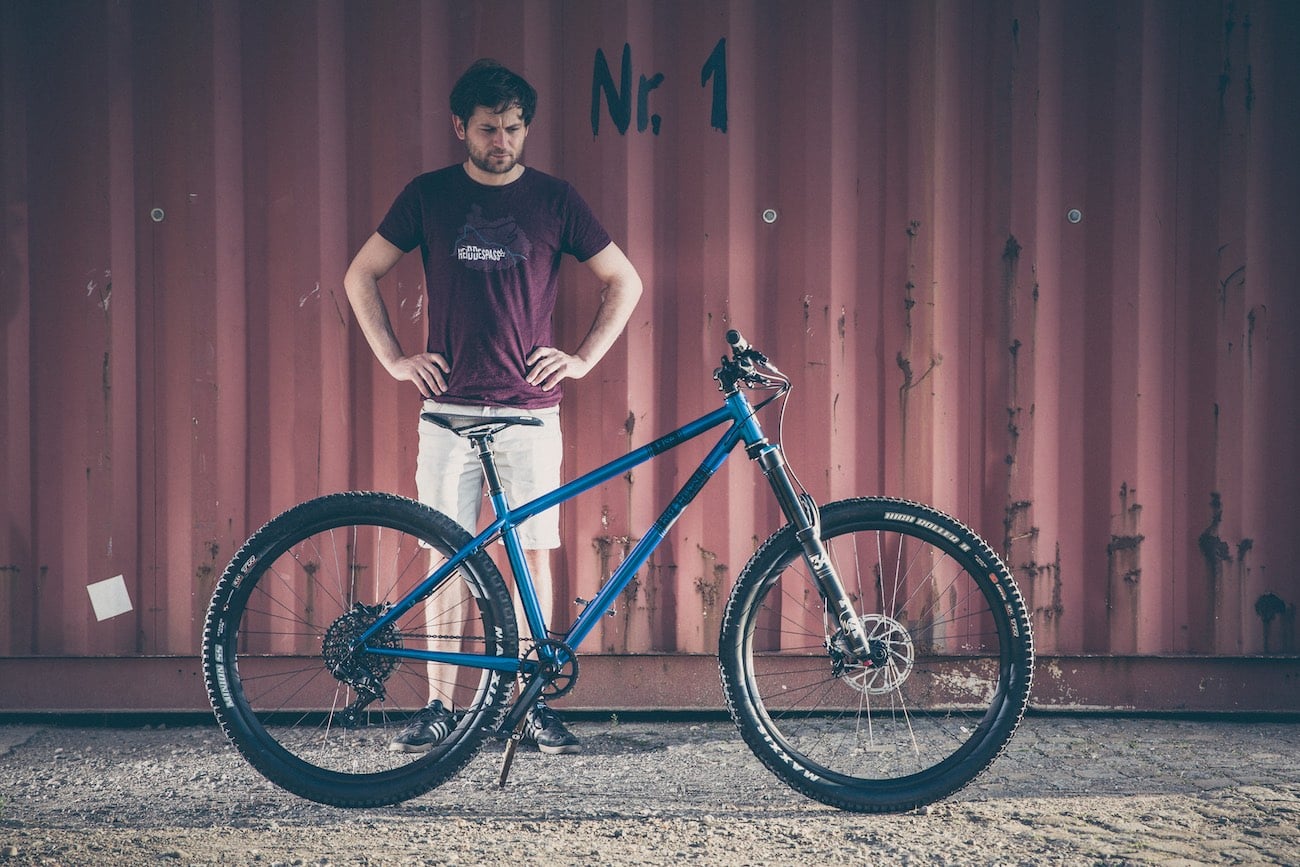
Fillet brazed frames don’t need lugs to join the tubes.  This means the frame geometry is not limited to the lugs that are available.   Any type of frame, with any kind of geometry, can be built with this technique, including mountain bikes.

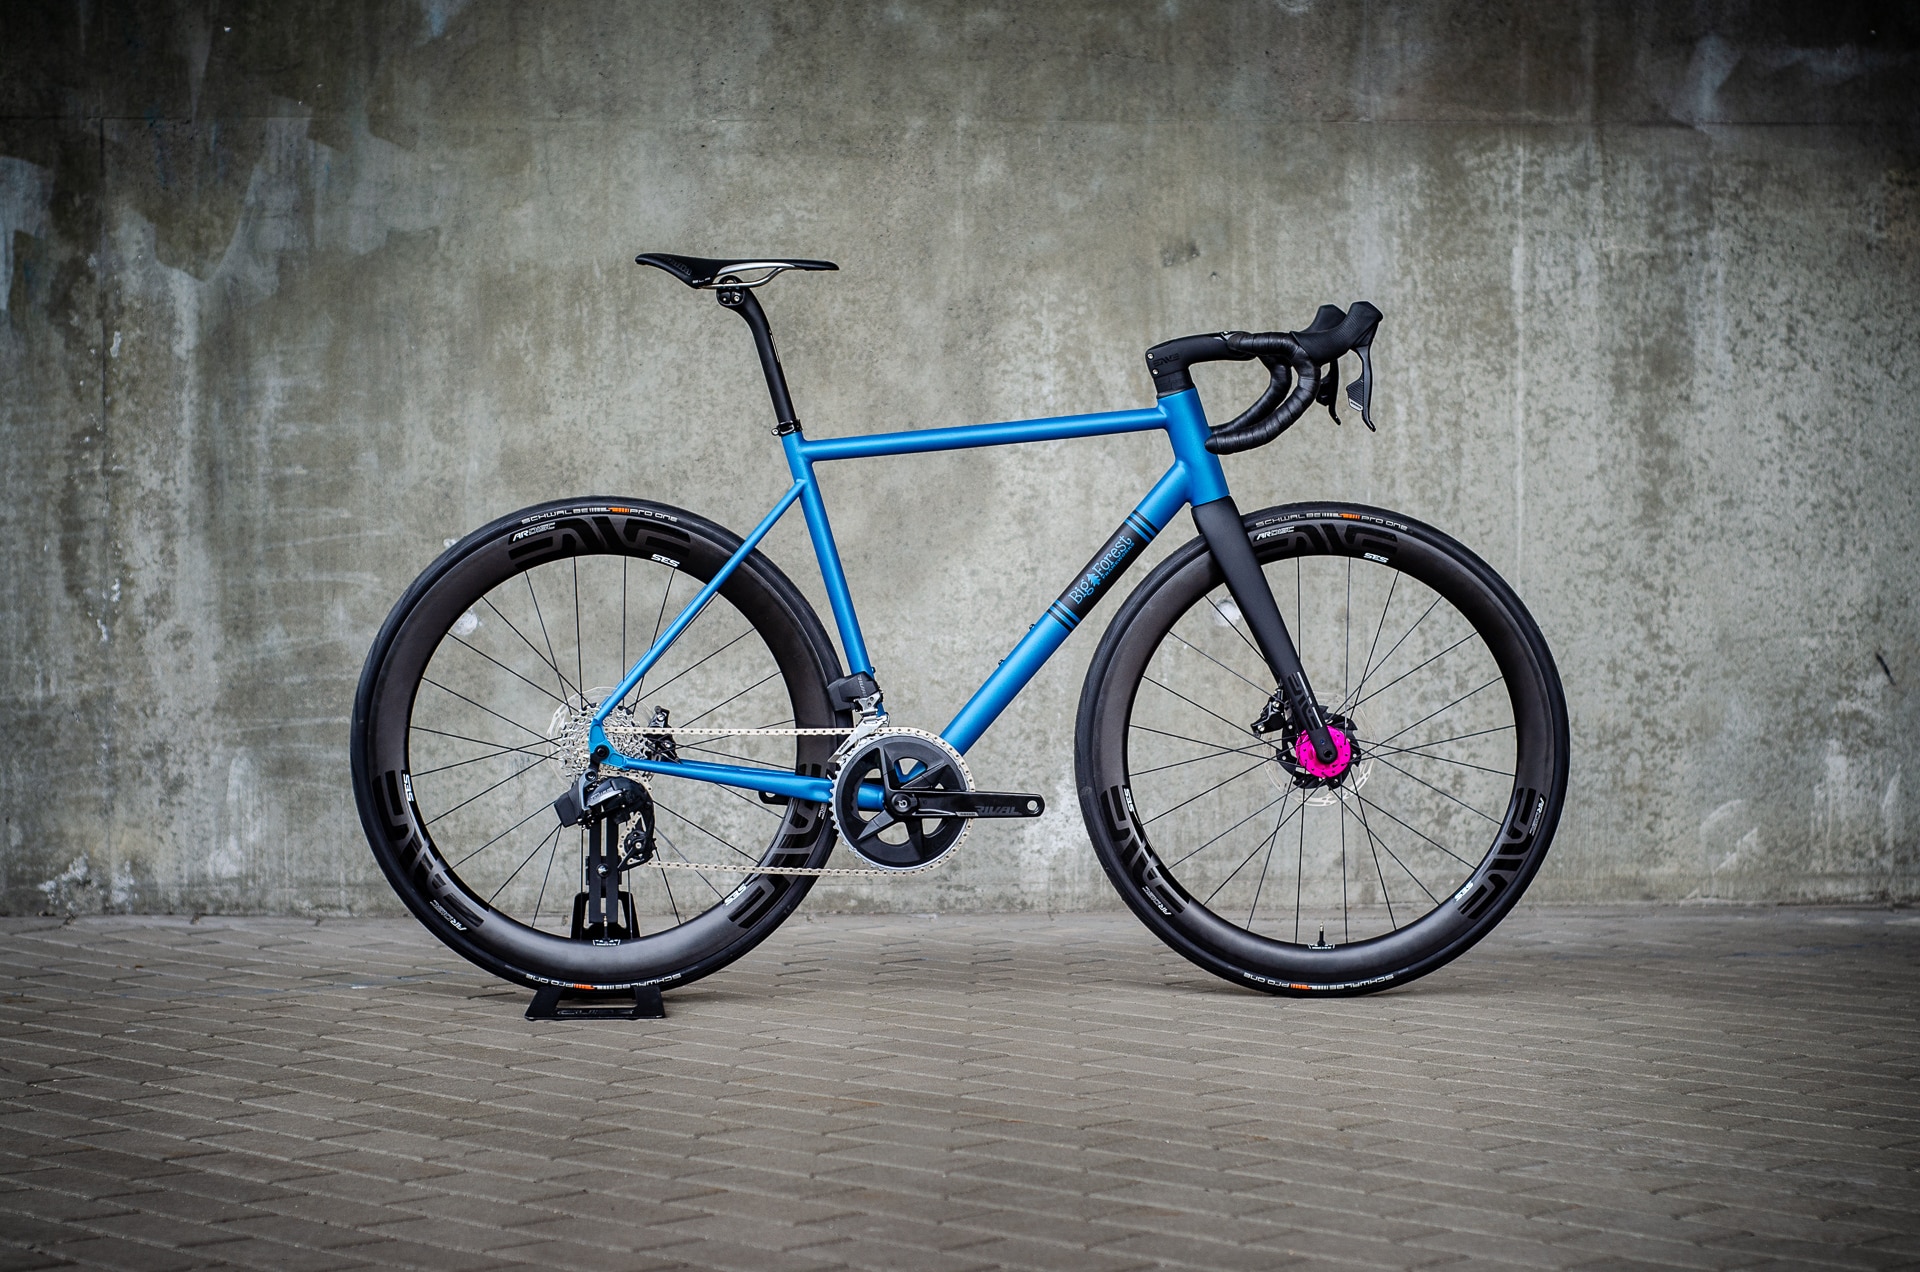
I like fillet brazed frames because the focus lies on the form of the frame.  Fillet brazed frames are simple and beautiful, and without the visible bead of a welded frame, they appear to be a single piece of steel as one tube blends into the next.  You won’t find a fillet brazed frame in the bike shop down your street.
Challenges

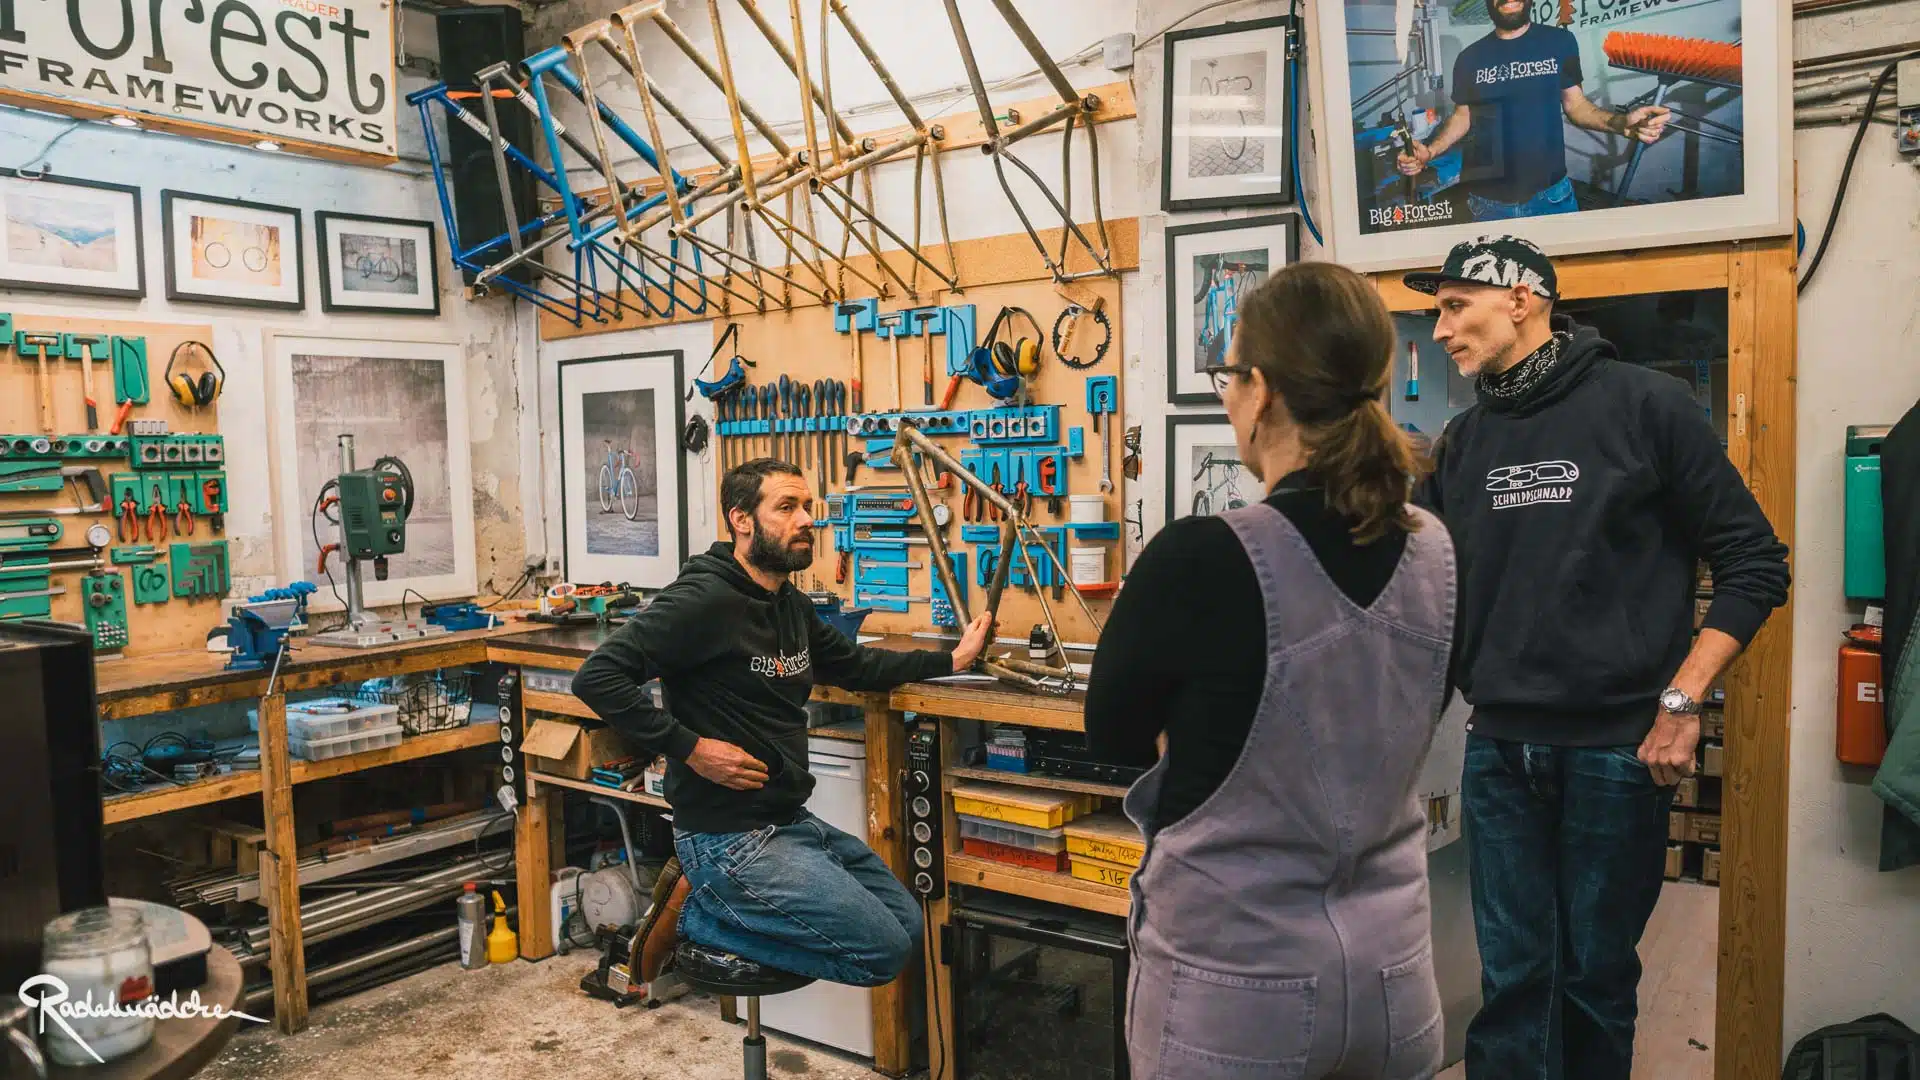
To build your own frame takes just 5 days in our workshop in Potsdam, Germany. Here's what your (first) week will look like...

DAY 1 - Geometry, Tube Selection, Getting Started

The planning for your new bike usually starts a few months before your course starts, normally we have a rough draft of the geometry before you arrive.   Monday morning starts with a coffee and a chat about the bike you’d like to build, so everyone is on the same page.  Then we’ll test out the geometry of your new bike on the frame-sizer, and perhaps do a bit of fine tuning so it really fits you right.  After a bit of practice with basic metal work skills, we’ll get started mitering the main tubes in the afternoon.


DAY 2 - Main Tube Mitering, Bottle Boss Brazing

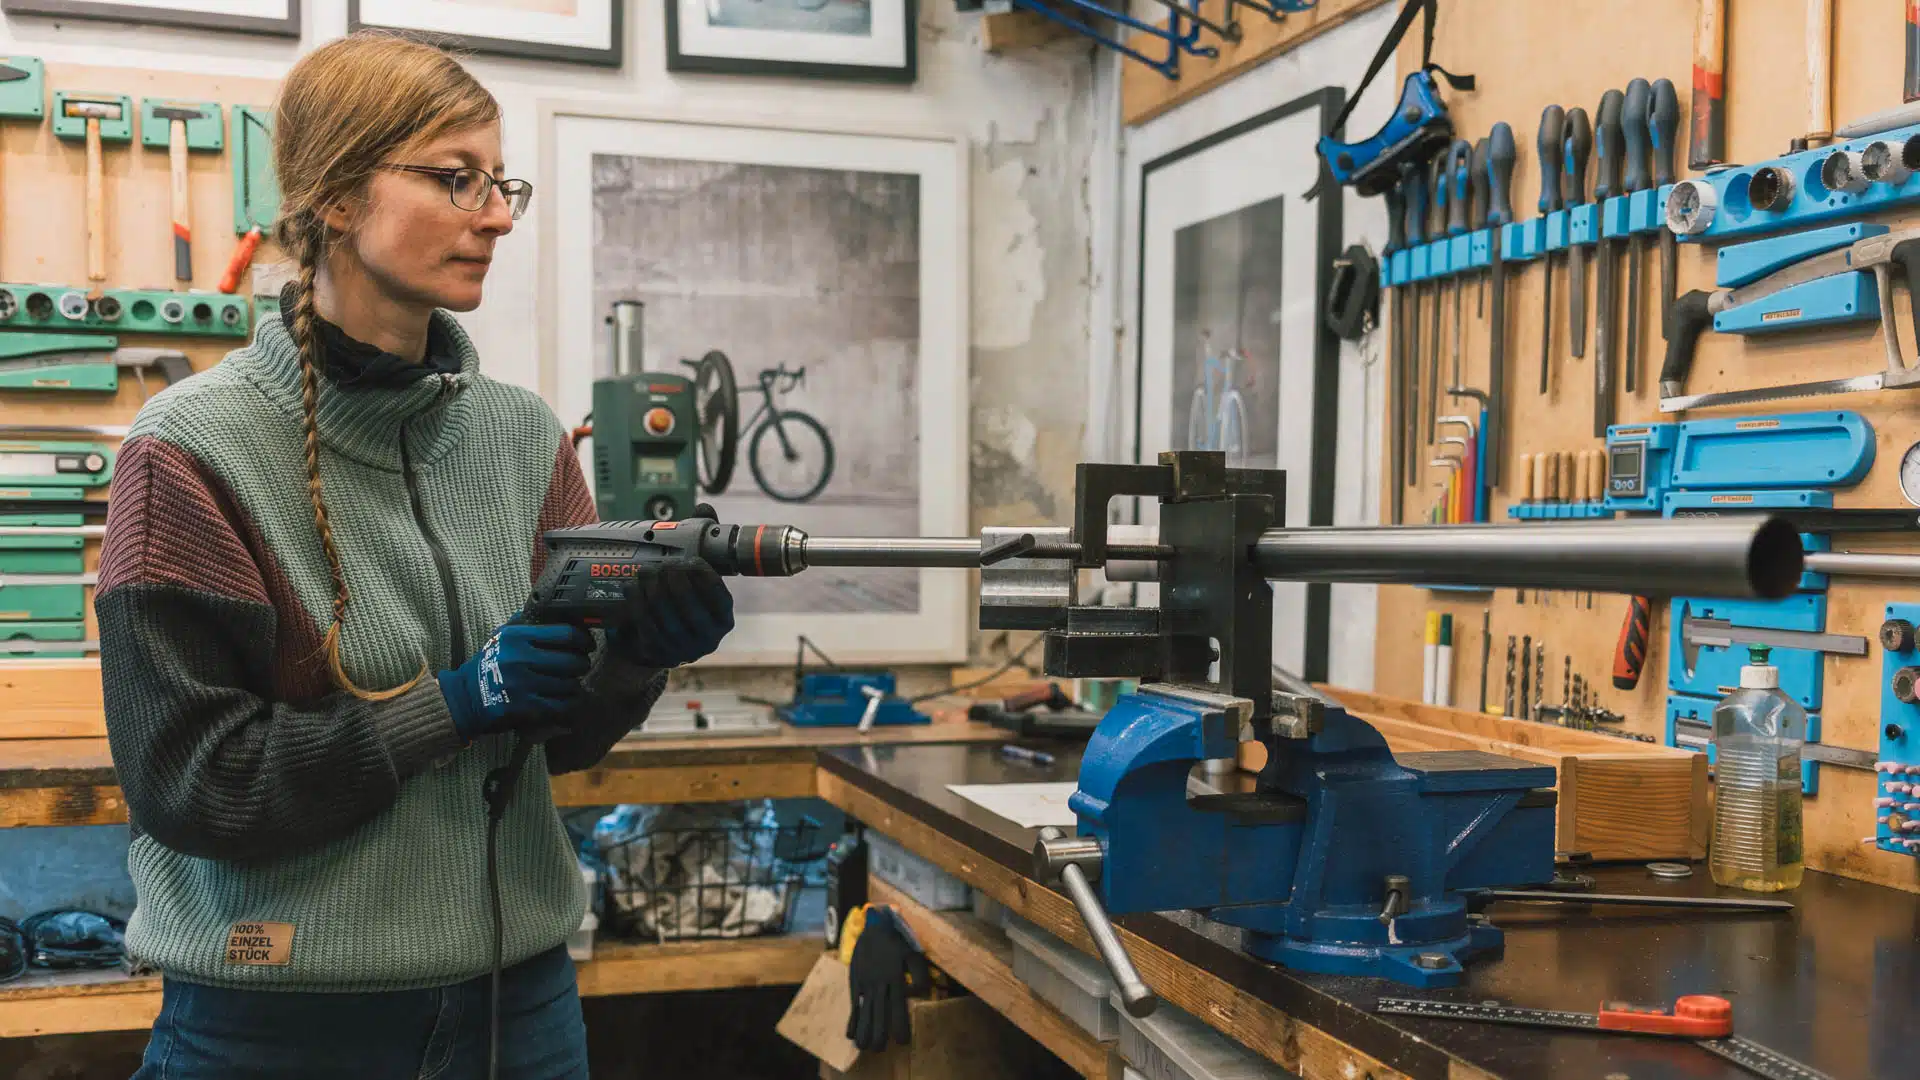
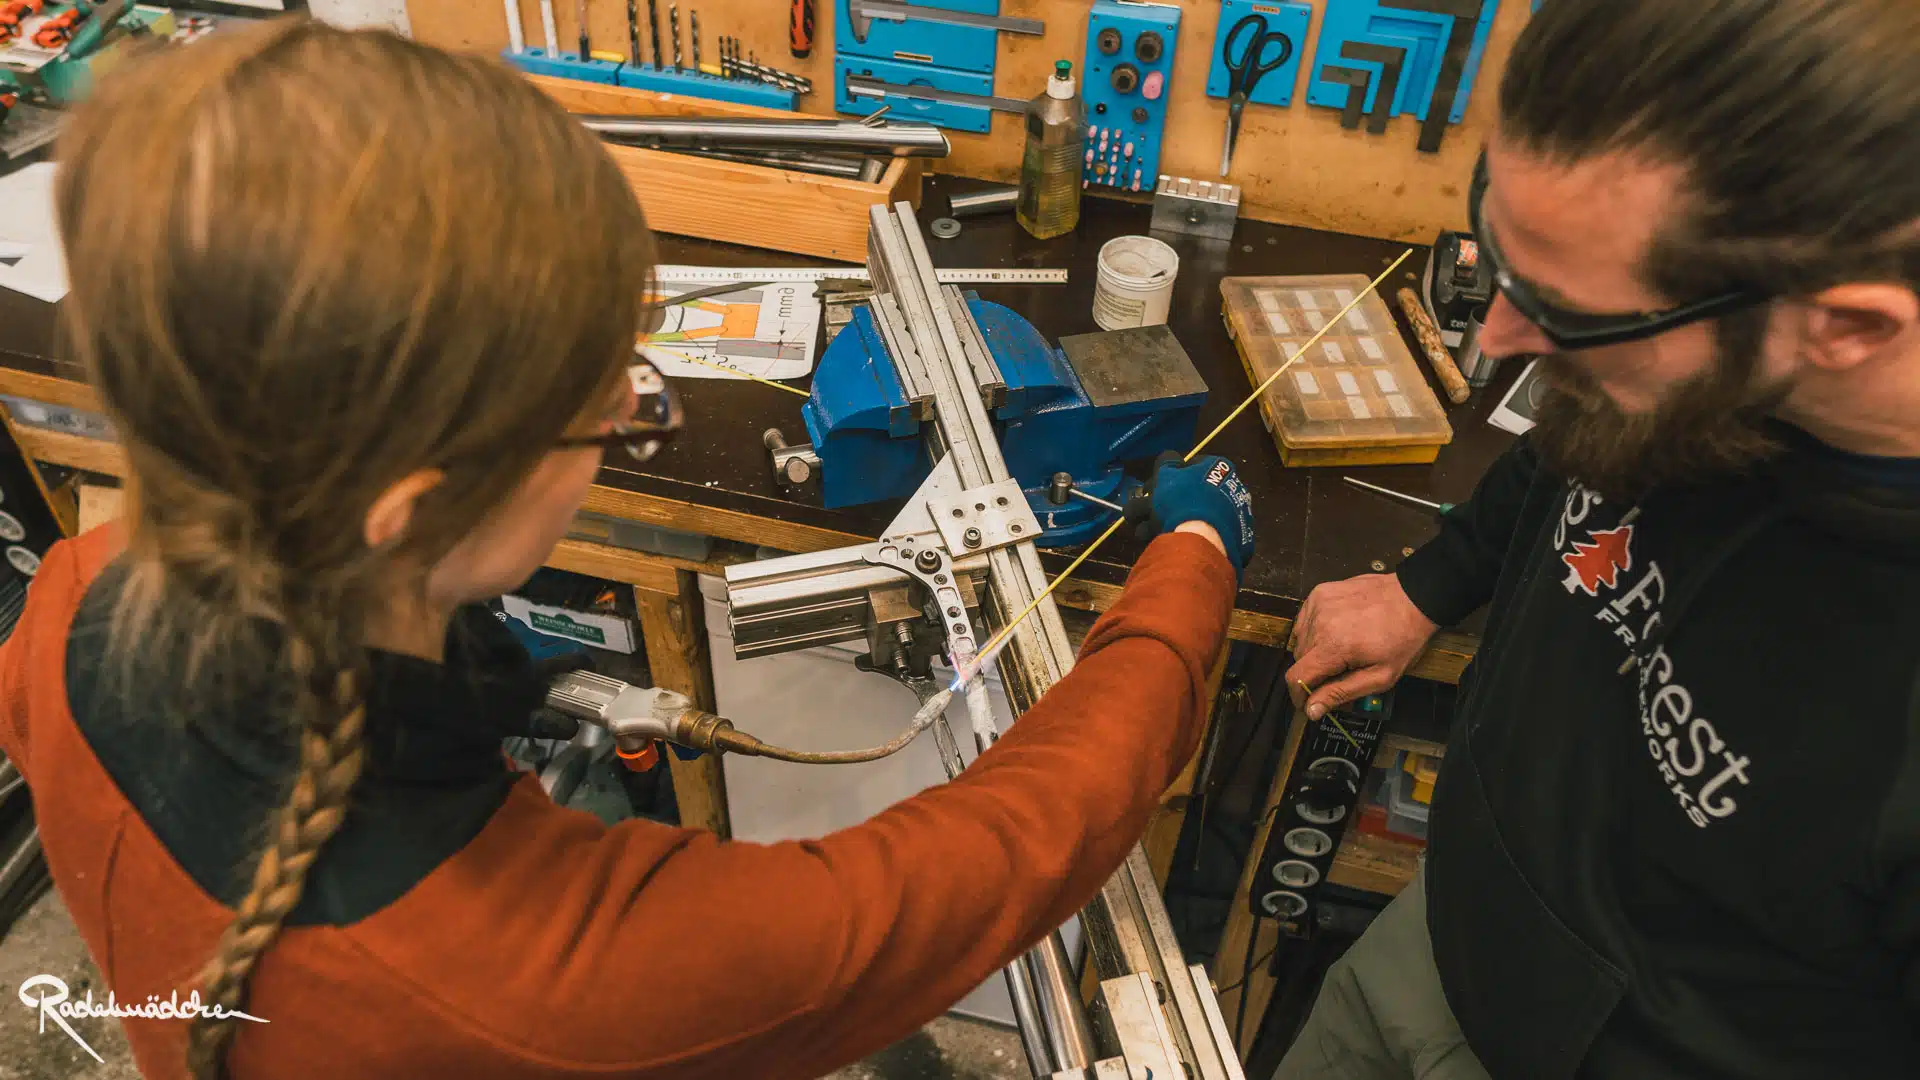
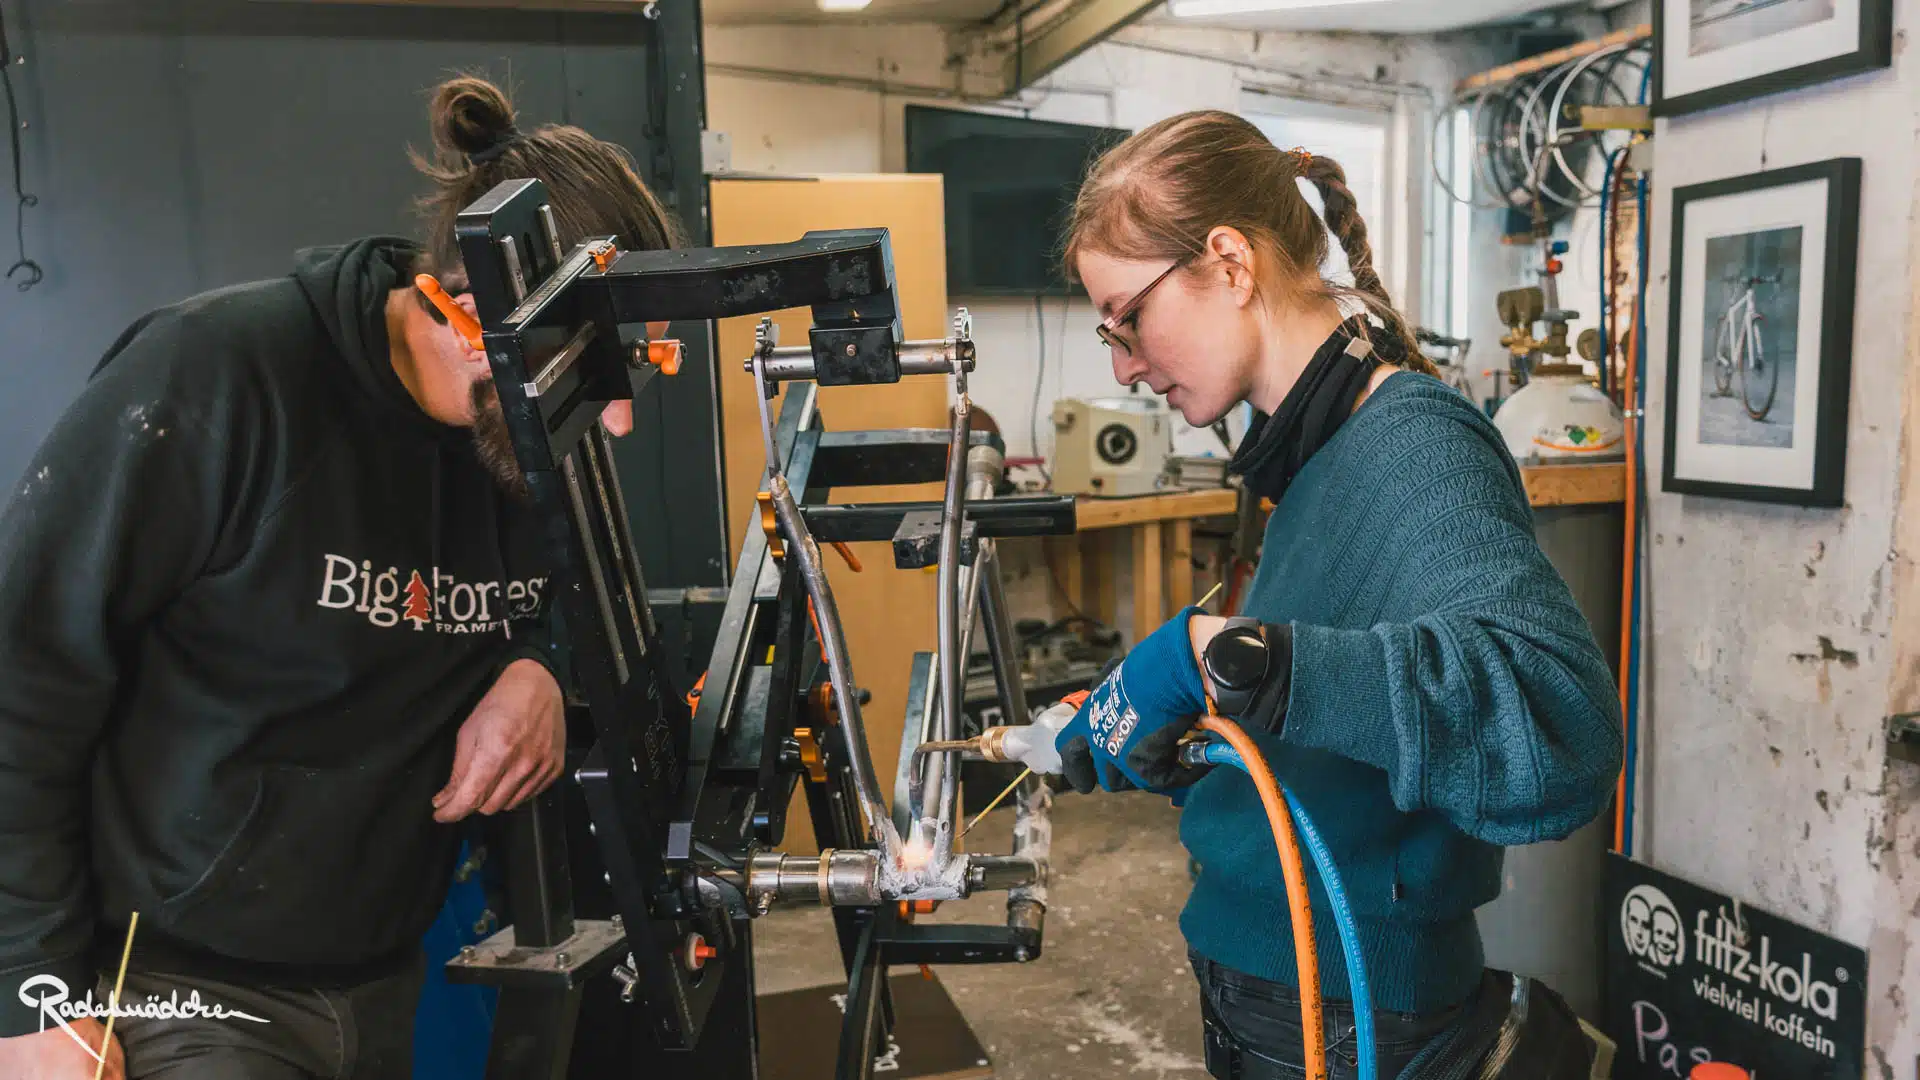
Usually we start day 2 with your introduction to brazing.   We’ll braze two tubes together, and try to break the joint (which never happens!).   This will give you the confidence you need to know that what you’re creating is actually going to hold together.   When the main tubes are mitered, you’ll put them in the frame jig and do a bit of fine tuning so that everything fits how it needs to.   Now it’s about to get hot!  We will drill the holes for the bottle bosses and braze them in the tubes.

DAY 3 - Chain Stay Prep & Dropout Brazing

We’ll get started on the chain stays.   They usually need to be bent for crank arm clearance, pressed for chain ring and tire clearance, and slotted to accept the dropouts.   Perhaps we also need some holes, if the cables are guided internally. After getting everything fit up, we’ll braze the chain stays to the dropouts, and then they are mitered at the same time to the bottom bracket.  With the front triangle finished, we’ll check the chain stay fit, which might need a bit of fine tuning.   Now you’re ready to tack the frame in the jig!   After tacking, the frame is brazed, and now you’re ready for a good night’s sleep.

DAY 4 - Brazing the frame, checking alignment

After brazing we need to chase and face the bottom bracket, so we can check the frame alignment.  The heat from the torch causes a bit of distortion, and the frame needs to be straightened.  It’s actually a pretty simple process when you have the right tools.   Then we get started on the seat stays, they are mitered to the seat tube, shortened and slotted at the dropout side, and brazed in place.   Now your dream is really becoming reality!   We aren’t done yet, but the end is in sight!

DAY 5 - Finish Work, Details, Sanding

Friday, last day!   Depending on which type of bike you are building, you might need or want bridges between the seat and chain stays to increase the stiffness of the frame or so you can easily mount fenders.   Perhaps you need bosses to attach a rack as well.   The seat tube and head tube need to be reamed, you need a slot in the seat tube, and a drain hole in the bottom of the bottom bracket.  At last comes the frame number!   You can choose your own frame number, up to 9 letters or numbers.   It is stamped in a piece of brass, and we braze it to the frame.   And you can also braze one of our small brass trees to the frame if you like as well.    That’s it, you did it!!!

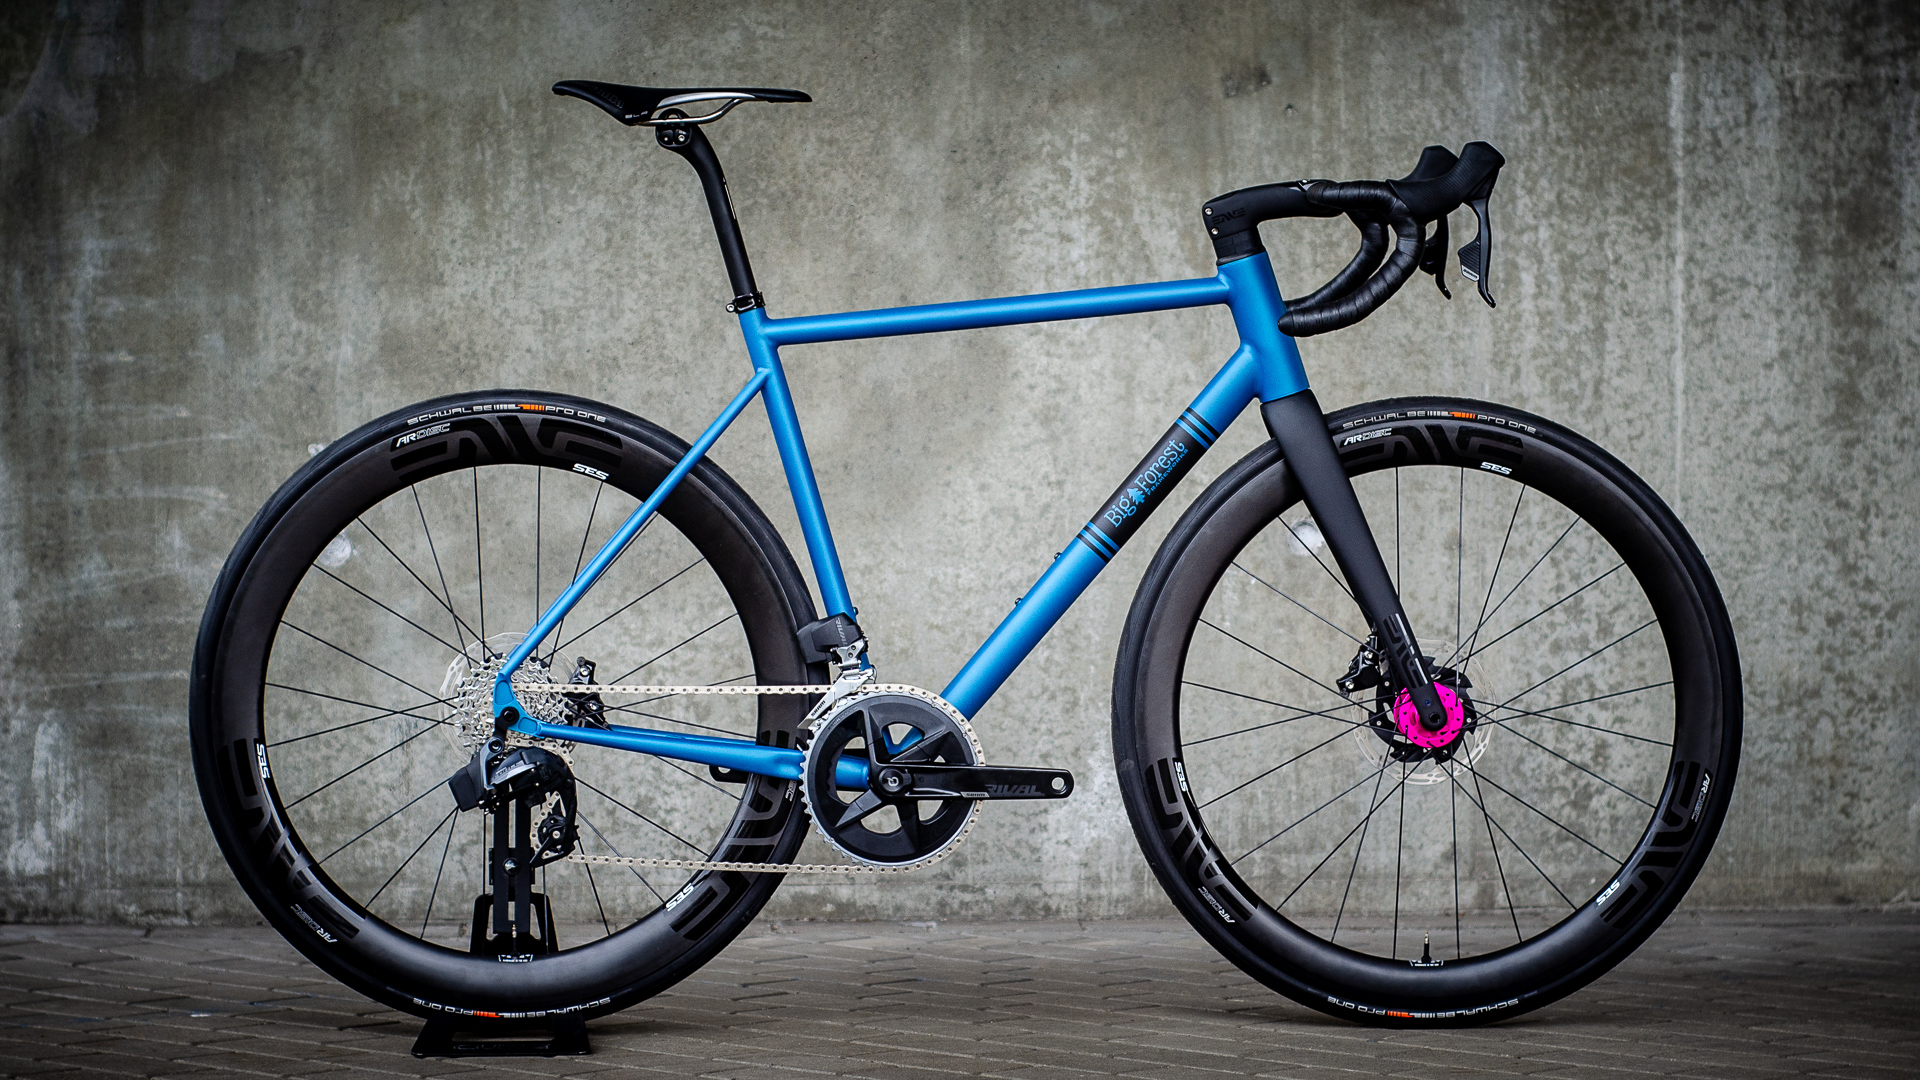
It could be yours.

This is what you get.

1. Time and Place

The Fillet Brazed Frame Building Course lasts 5 days.  The course takes place in my workshop in Potsdam-Babelsberg (only 30 minutes from Berlin via the S-Bahn).  Please send me a message to enquire about course dates.  There are a maximum of e students.

2. Possible Bikes

In the Fillet Brazed Frame Building Course you can build a road bike, singlespeed, cyclocross, gravel, trekking or mountain bike.   Any geometry is possible.   A Rohloff rear hub, Pinion Transmission, and a Gates belt drive are all possible.  The frames can be built for rim or disc brakes.   You can drill as many holes for water bottle mounts as you like!

3. Difficulty

A fillet brazed frame is more challenging to build than one with lugs.   Brazing in particular is a bit more difficult without lugs as it requires you to work more carefully with the torch than needed with a lugged frame.   Still, most people do choose to first build a fillet brazed frame.   Around 90% of our course participants build fillet brazed frames, and most of them are building their first frame.

4. What you do

Everything.  Some frame building courses concentrate more on the theory.  In some courses tubes are already cut before you get there.  In my opinion cutting and brazing is the bread and butter of frame building.  In my courses, under my direction, you will build the frame completely by yourself.

5. What I do

I have all the tools you’ll need to build your frame, plus thousands of hours of experience building pretty much every kind of bike you can think of.  Working together, you can build your own frame that you will go home happy with.

6. Extras

Material costs are not included in the course fees.  The material cost can vary quite a bit from frame to frame.   The typical material cost for a fillet brazed frame is around 350 – 700 Euro.

BUILD YOUR OWN FRAME.

5-Day Frame Building Course for only:

2.350,00 €

(including Tax), plus material cost

Book your course NOW in our on-line shop.

View the available dates here.

Do you have questions you'd like answered, before you book your course? Send us an e-mail!

Either use the Form below, or just send as an email directly to info@bigforestframeworks.com

Choose your course dates

You tell me when you have time for a course, be as specific as you like. I’ll get back to you as soon as possible if your dates are free.

From beginner to advanced

Whether you’ve already built your first frame, or never had a drill in your hands before, with my tools and experience you can do it. And be happy with the results.

Quality

For the frames I recommend the best steel from Columbus and Reynolds.

Material Cost

The material cost from frame to frame can be very different. Typically this is around 350 – 600 Euro, but can in some cases go up to around 700 Euro. The material cost for a stainless road or gravel frame is around 1500 Euro.

Contact us to book your course!

View the overview of course dates here.   Then use the form below to get in touch, or just send an e-mail to info@bigforestframeworks.com to reserve your spot.


    Your data, you decide...


    Did you ever think about building your own bike frame?

    Join our newsletter and connect with fellow frame building enthusiasts! Get essential tips and tricks, be inspired by our 'Bike of the Month,' and discover exciting bikepacking and cycling adventures you won't want to miss!

    Who We Are

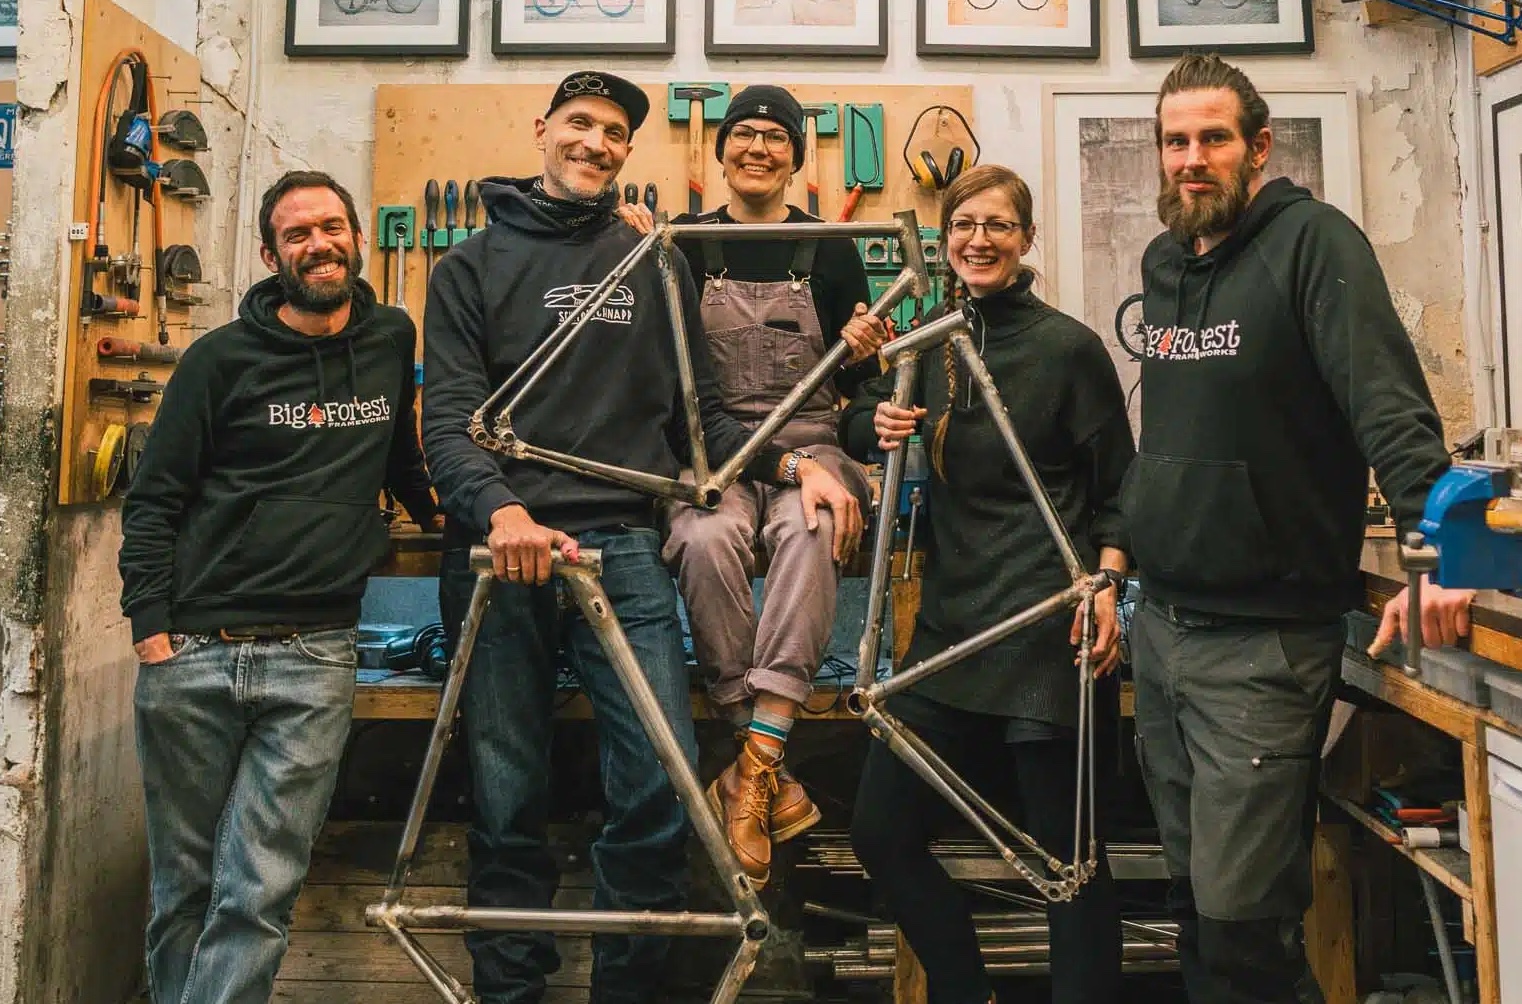
    At Big Forest Frameworks it takes a team of three to make your dream become reality.

    Robert.

    Founder and visionär Robert Piontek is still teaching courses after more than 10 years at Big Forest Frameworks.  His dream started just like yours.  Bored at work and wanting to do something different, he took the plunge and managed to build a lugged fixed gear frame. He finally found what he was looking for, the experience of creating, which had been missing from his life for far too long.

    Konrad.

    Master mechanic and the frame builder behind many of the bikes you‘ve seen here recently, Konrad has been working in the bike business for more than 25 years.   In his earlier days he raced road and CX at the highest level in Germany.   He also owned and ran his own bike shop for many years, before joining Big Forest Frameworks in 2022.

    rahmenbaukurs-stahlrahmen-1867

    You.

    That’s right, you!  Our team wouldn’t be complete without you!  Our course participants are looking to get away from the daily grind of their day jobs in front of the computer.   They want to experience the pleasure of building their own frame, creating something with their own hands, that they will enjoy for a lifetime to come!

    Happy Faces. Beautiful Bikes.

    Daniel Helbig.

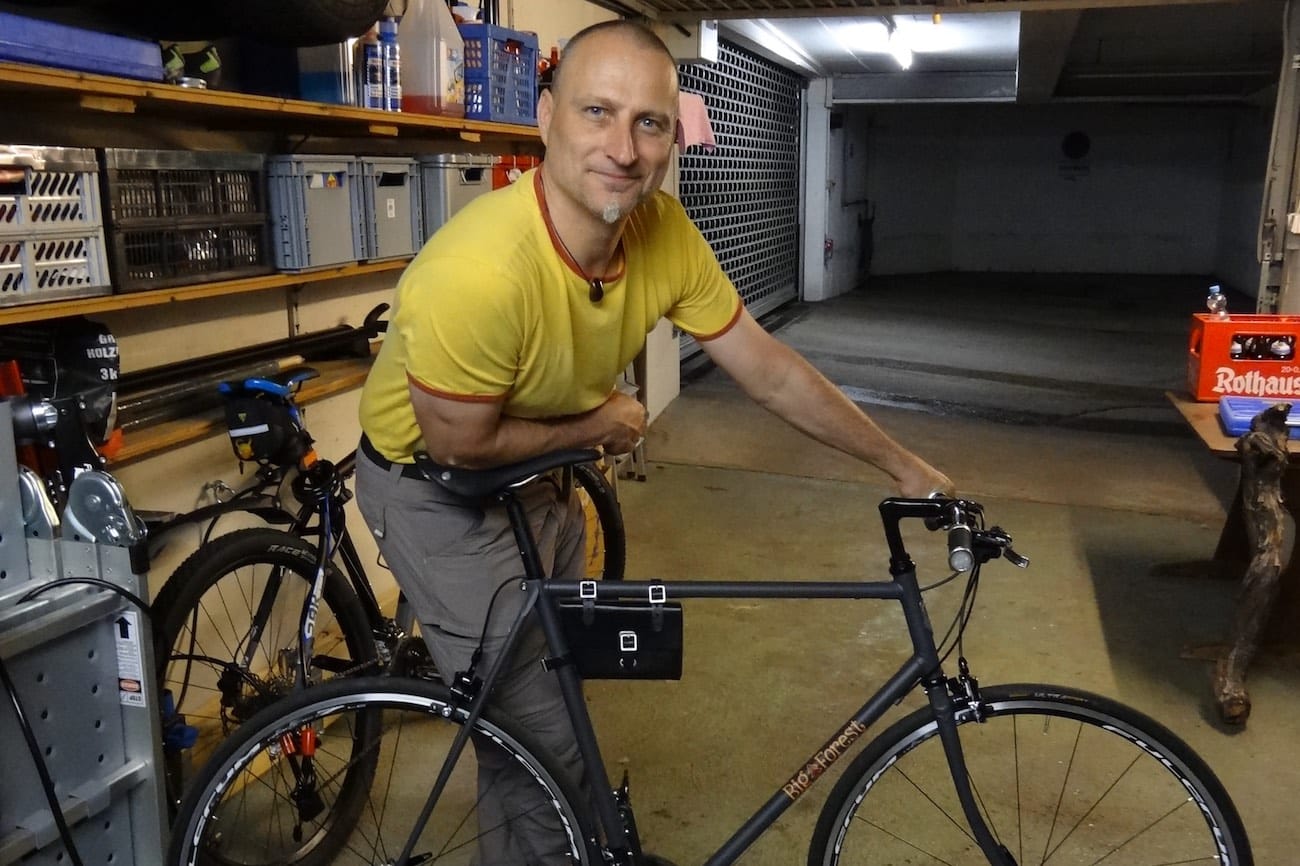
    “Thanks for the awesome week!   The frame building course was awesome, I can’t think of a better way to spend my vacation.   The ‘work’ was really fun and I learned a ton.  I’m really happy with how the frame turned out, and super proud that I actually built it myself.   The geometry fits me perfectly and rides even better than I could have imagined!”
    Olaf Kopp.

    “Thanks again for the awesome week!  The course was really fun and I am really proud of the frame I built.   I think you are a great teacher.   Always patient, you explained everything really well, and the ‘work’ of building the frame was never really like ‘work’ and I had a great time! :-)”
    Wolf Kansteiner.

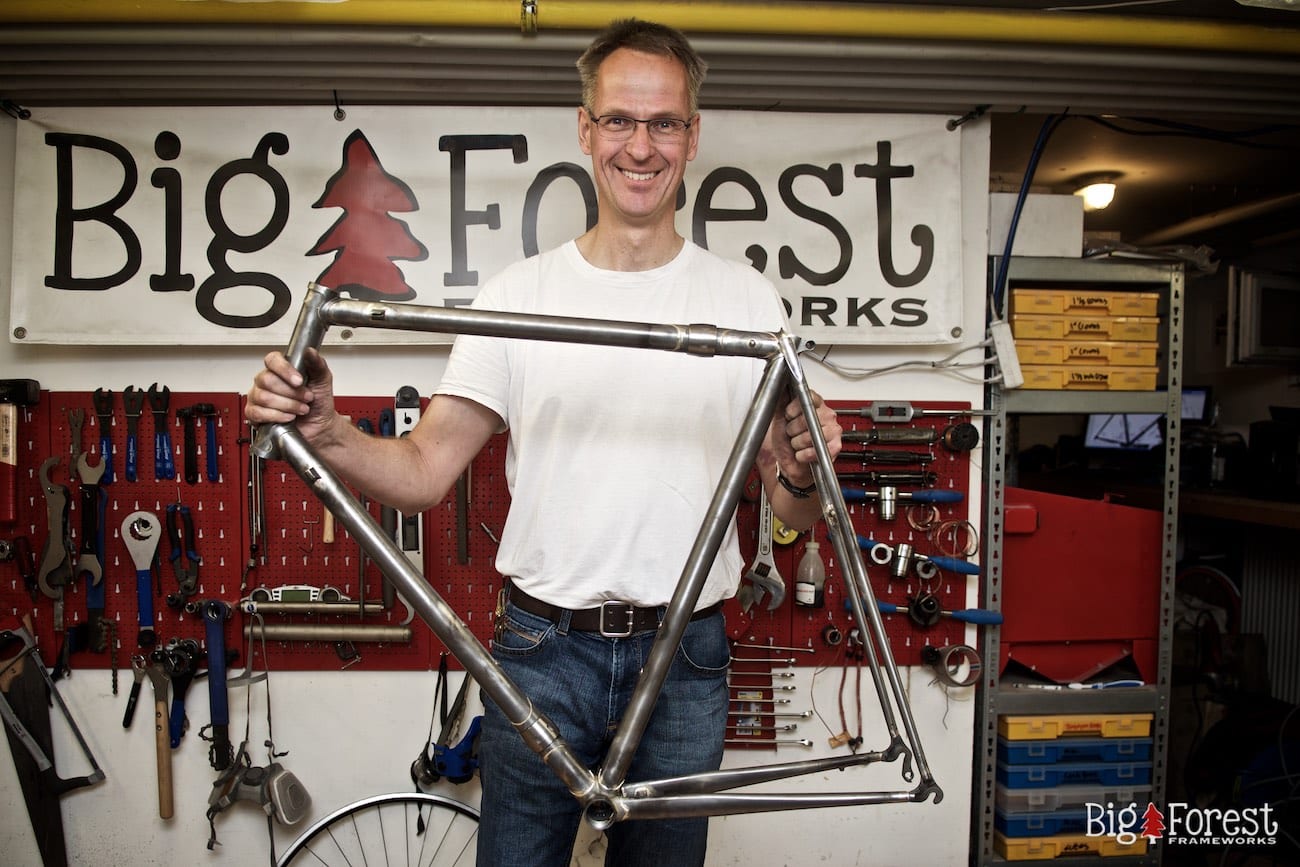
    “Sorry for bothering you with pictures from my bike. I tested it today for the first time and it was fantastic. I usually do not tend to be super-enthusiastic and there were of course some minor issues (like getting the position of the saddle right etc) but this was by far the most convincing test-ride ever. Super stable, yet agile, very direct. I loved every second with it.”

    Rather buy it instead of build it?

    No Problem!