Challenges
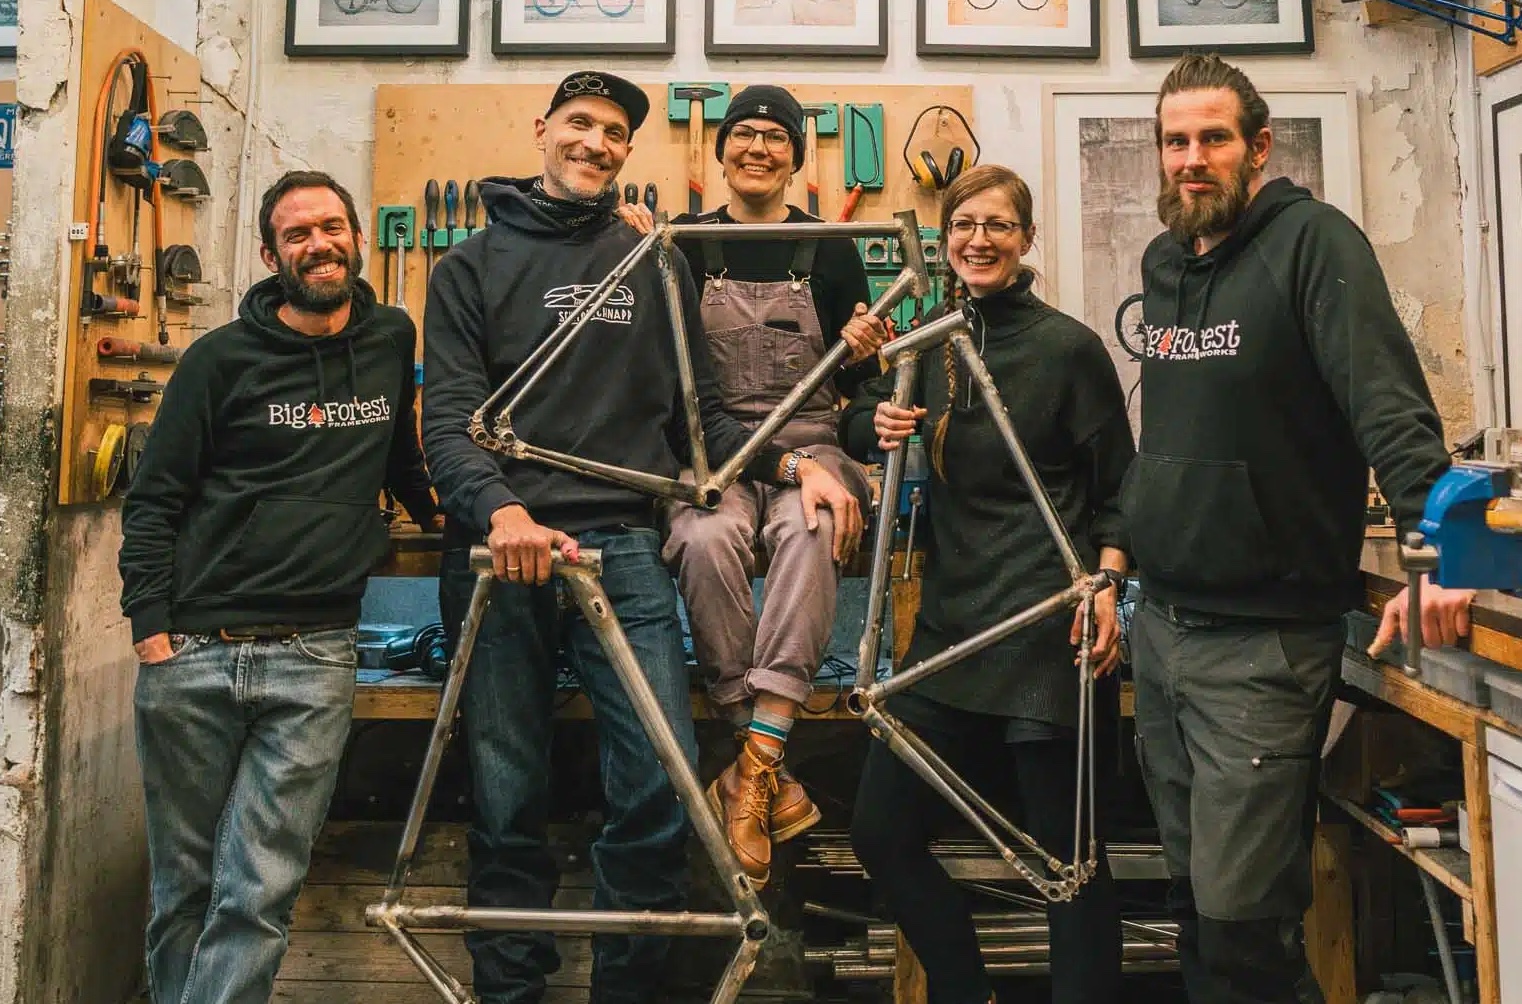
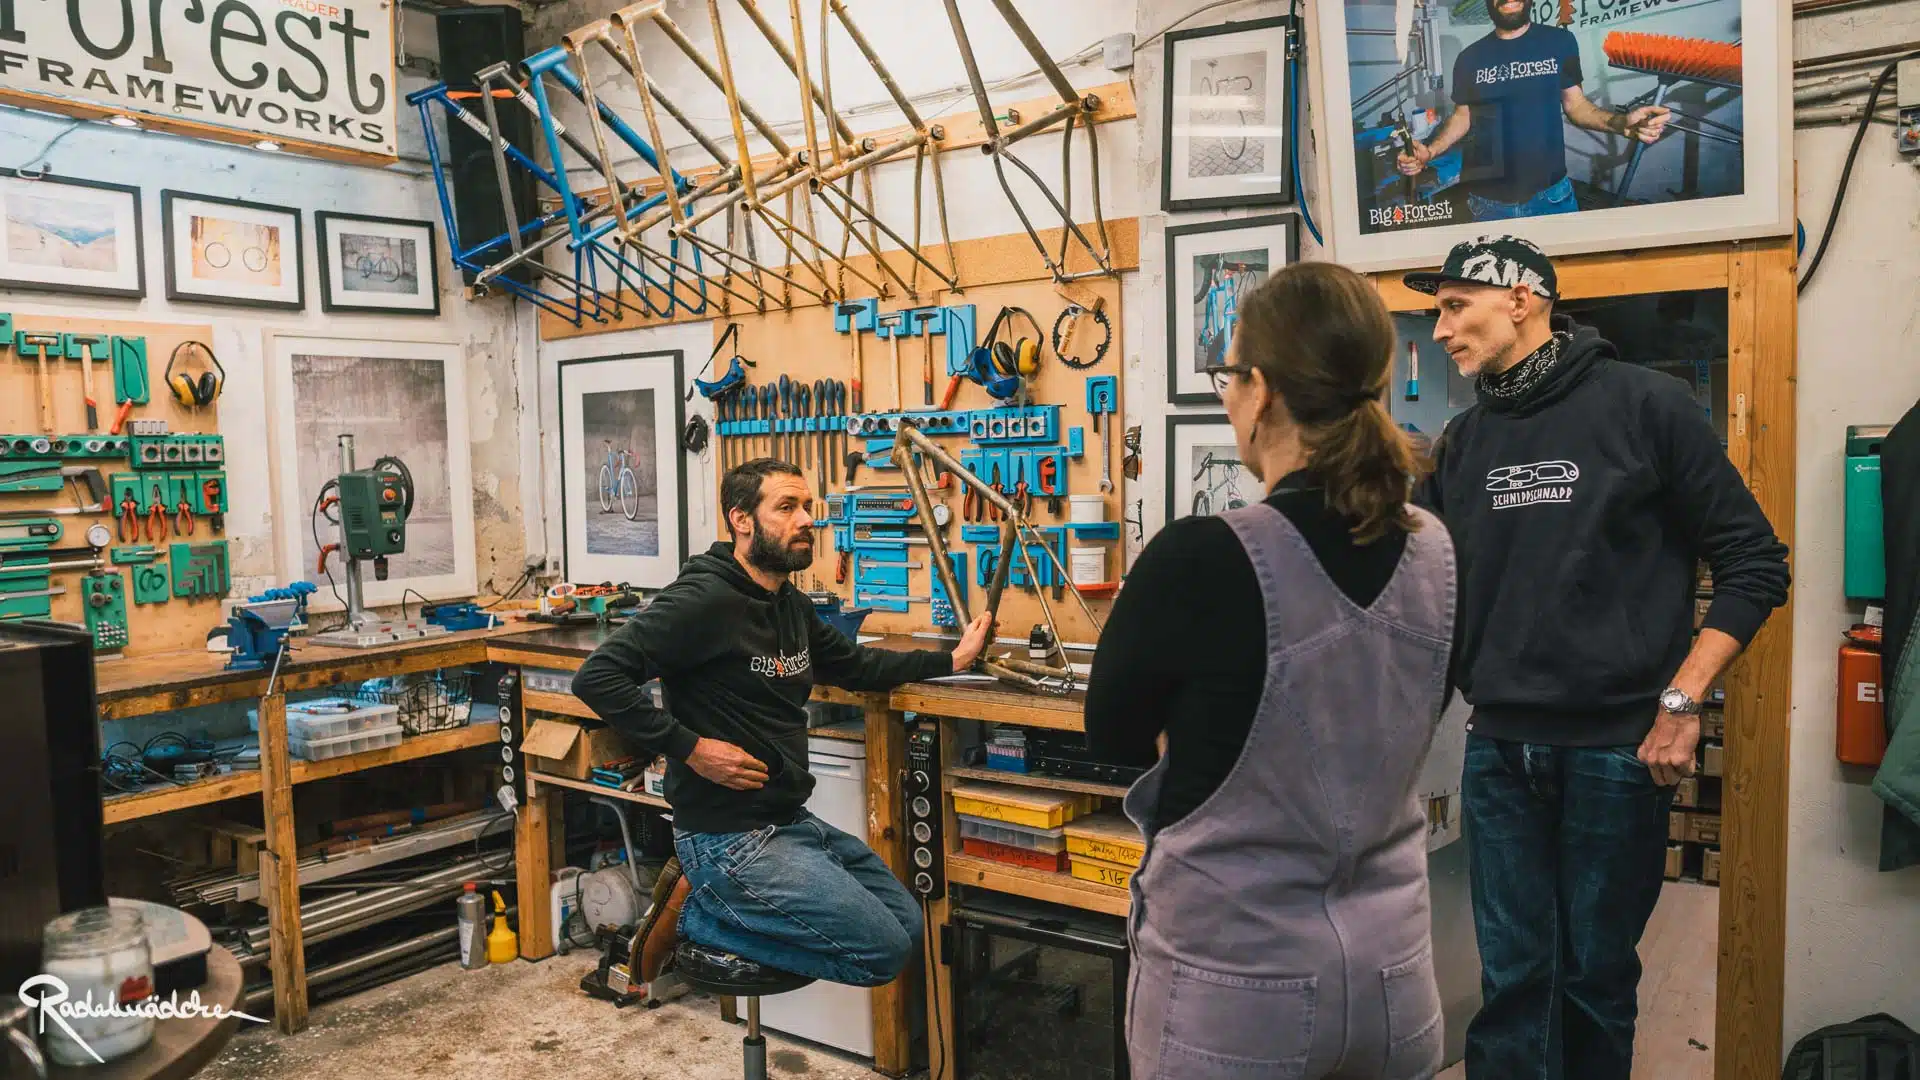
To build your own frame takes just 5 days in our workshop in Potsdam, Germany. Here's what your (first) week will look like...
DAY 1 - Geometry, Tube Selection, Getting Started
The planning for your new bike usually starts a few months before your course starts, normally we have a rough draft of the geometry before you arrive. Monday morning starts with a coffee and a chat about the bike you’d like to build, so everyone is on the same page. Then we’ll test out the geometry of your new bike on the frame-sizer, and perhaps do a bit of fine tuning so it really fits you right. After a bit of practice with basic metal work skills, we’ll get started mitering the main tubes in the afternoon.
DAY 2 - Main Tube Mitering, Bottle Boss Brazing
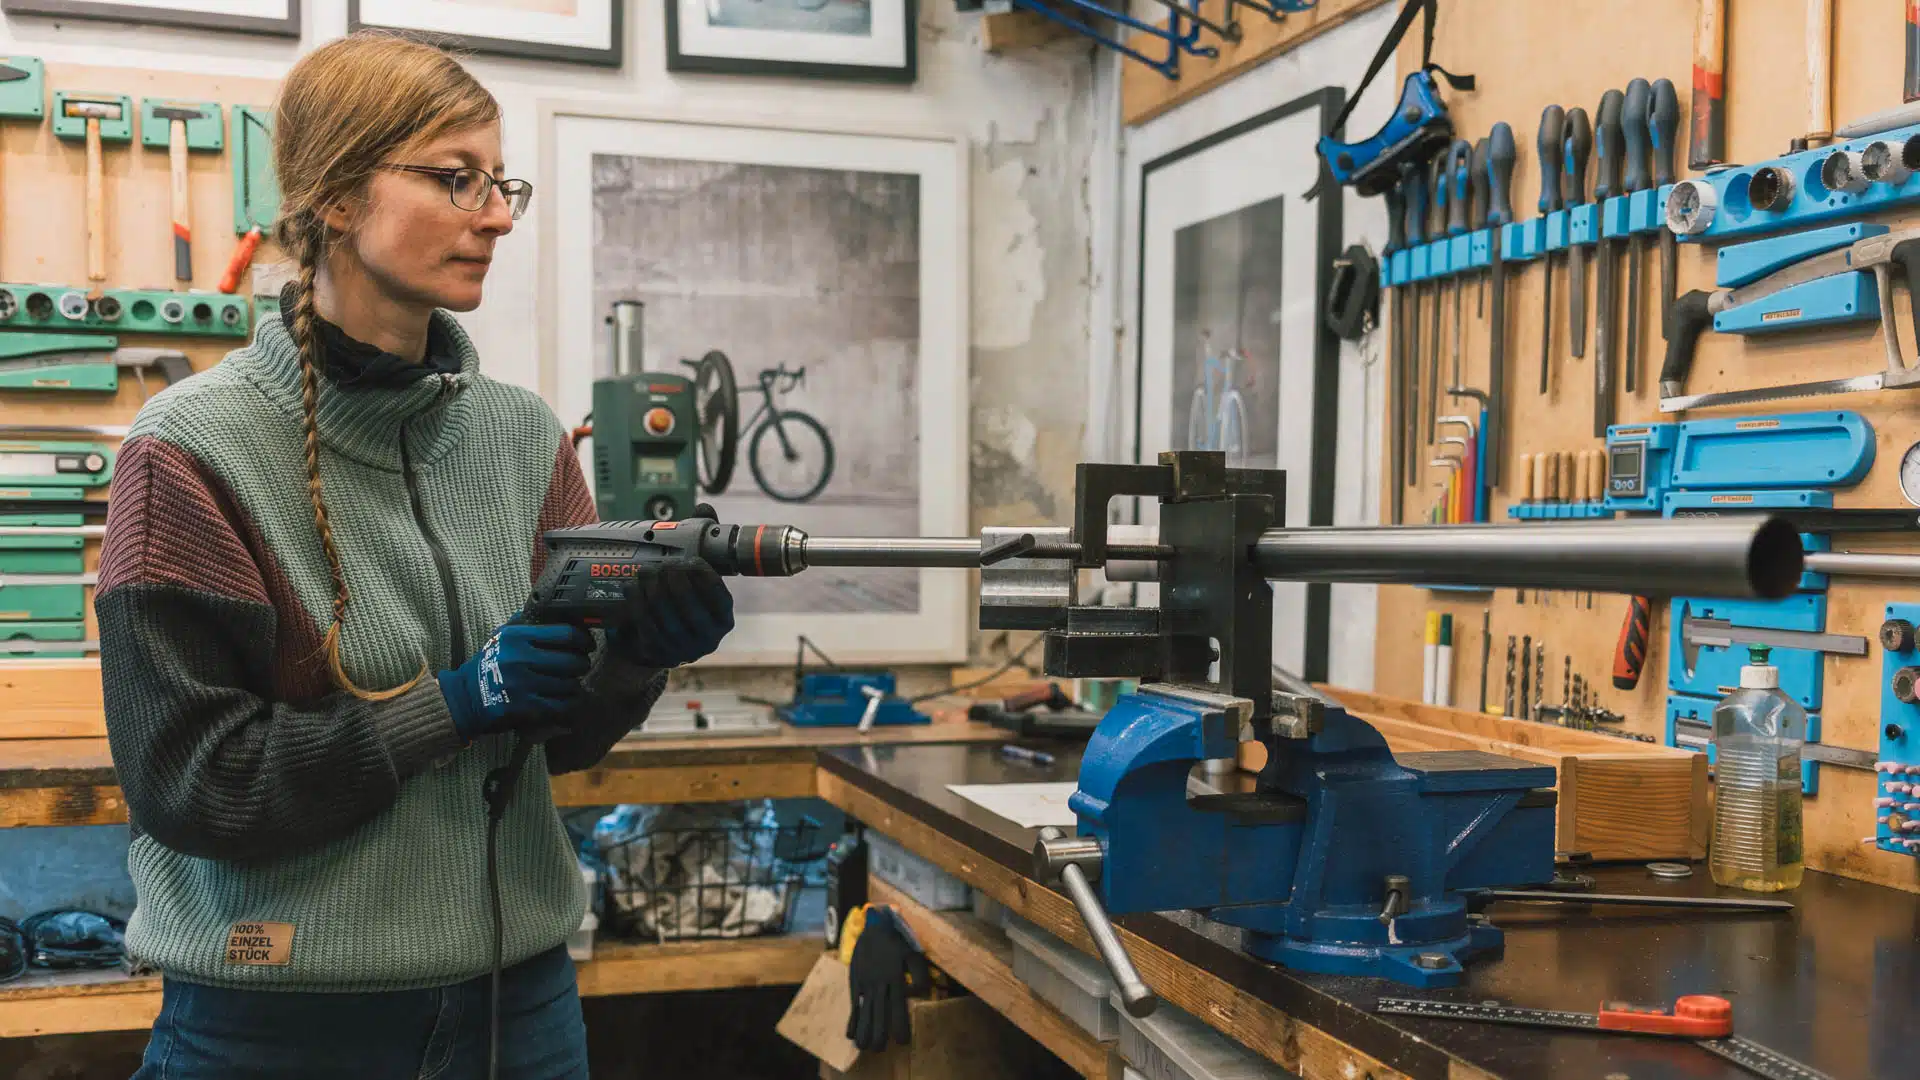
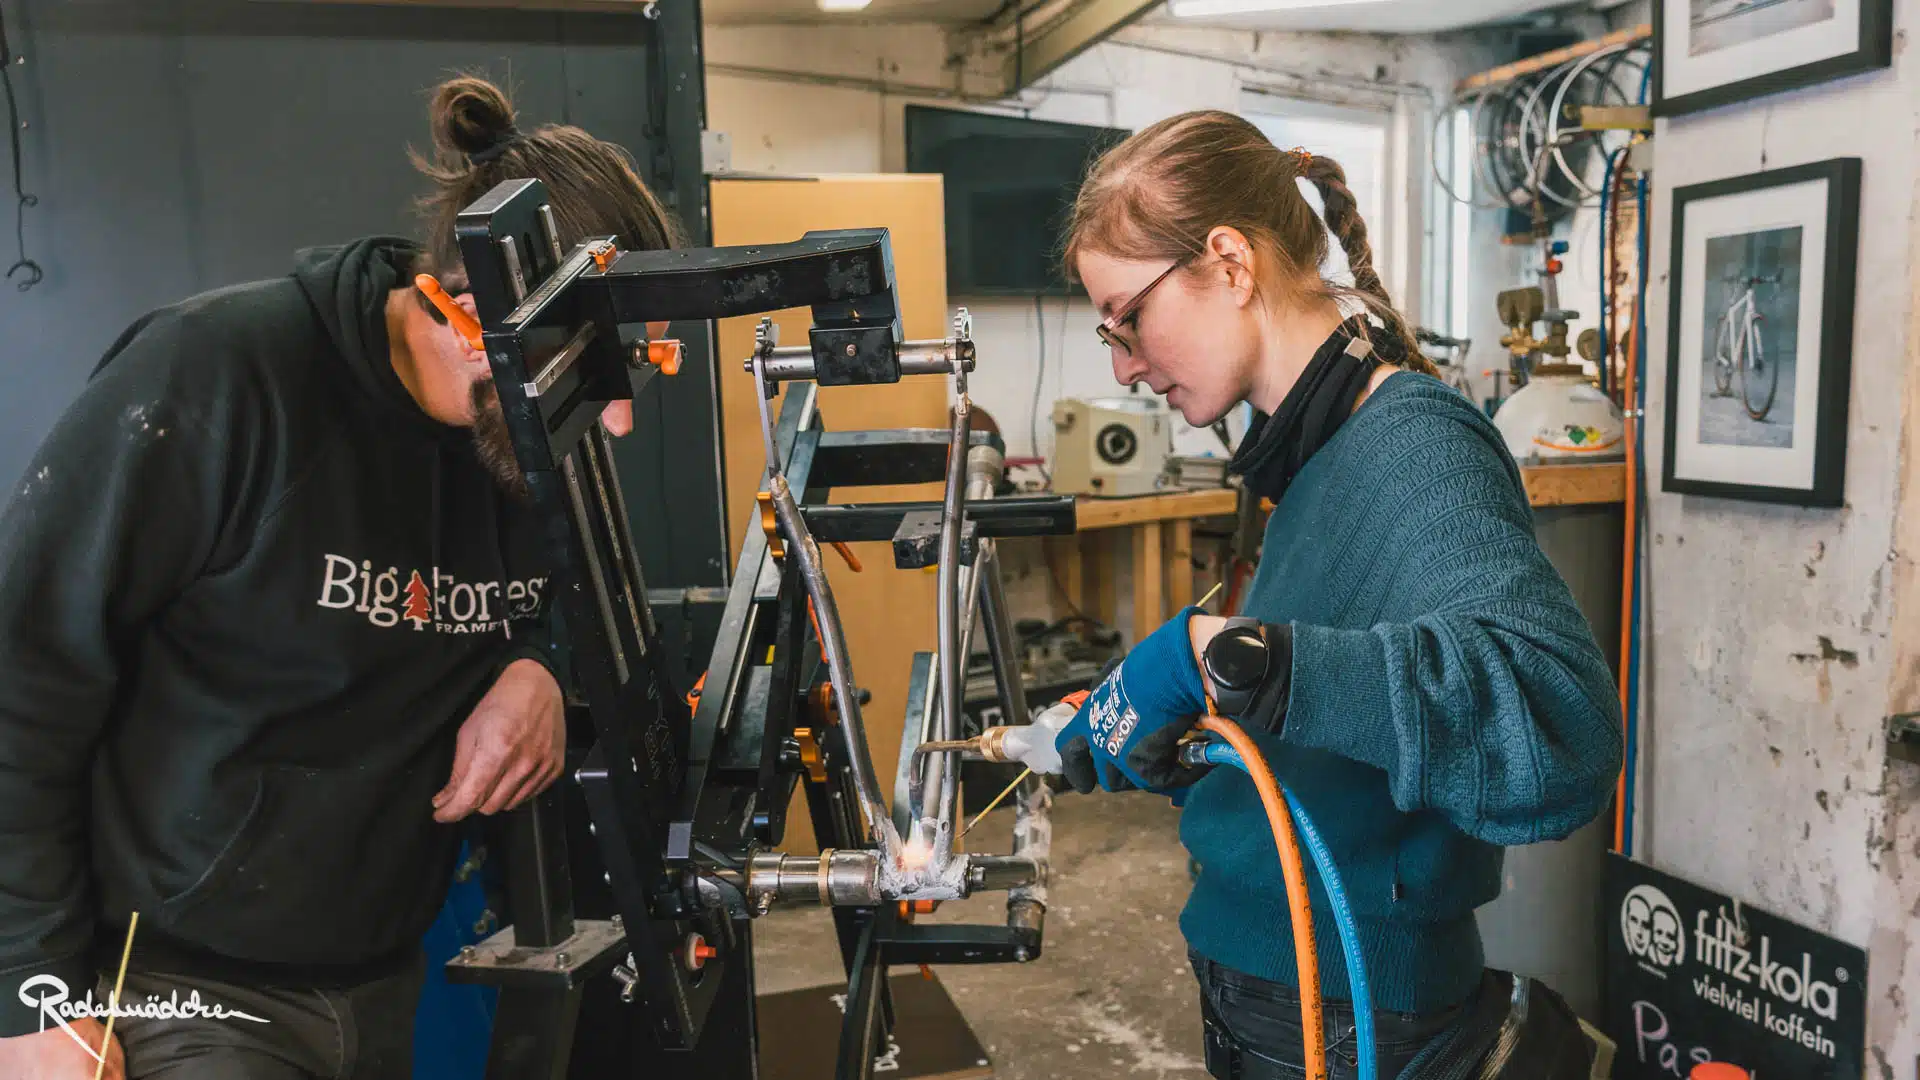
Usually we start day 2 with your introduction to brazing. We’ll braze two tubes together, and try to break the joint (which never happens!). This will give you the confidence you need to know that what you’re creating is actually going to hold together. When the main tubes are mitered, you’ll put them in the frame jig and do a bit of fine tuning so that everything fits how it needs to. Now it’s about to get hot! We will drill the holes for the bottle bosses and braze them in the tubes.
DAY 3 - Chain Stay Prep & Dropout Brazing
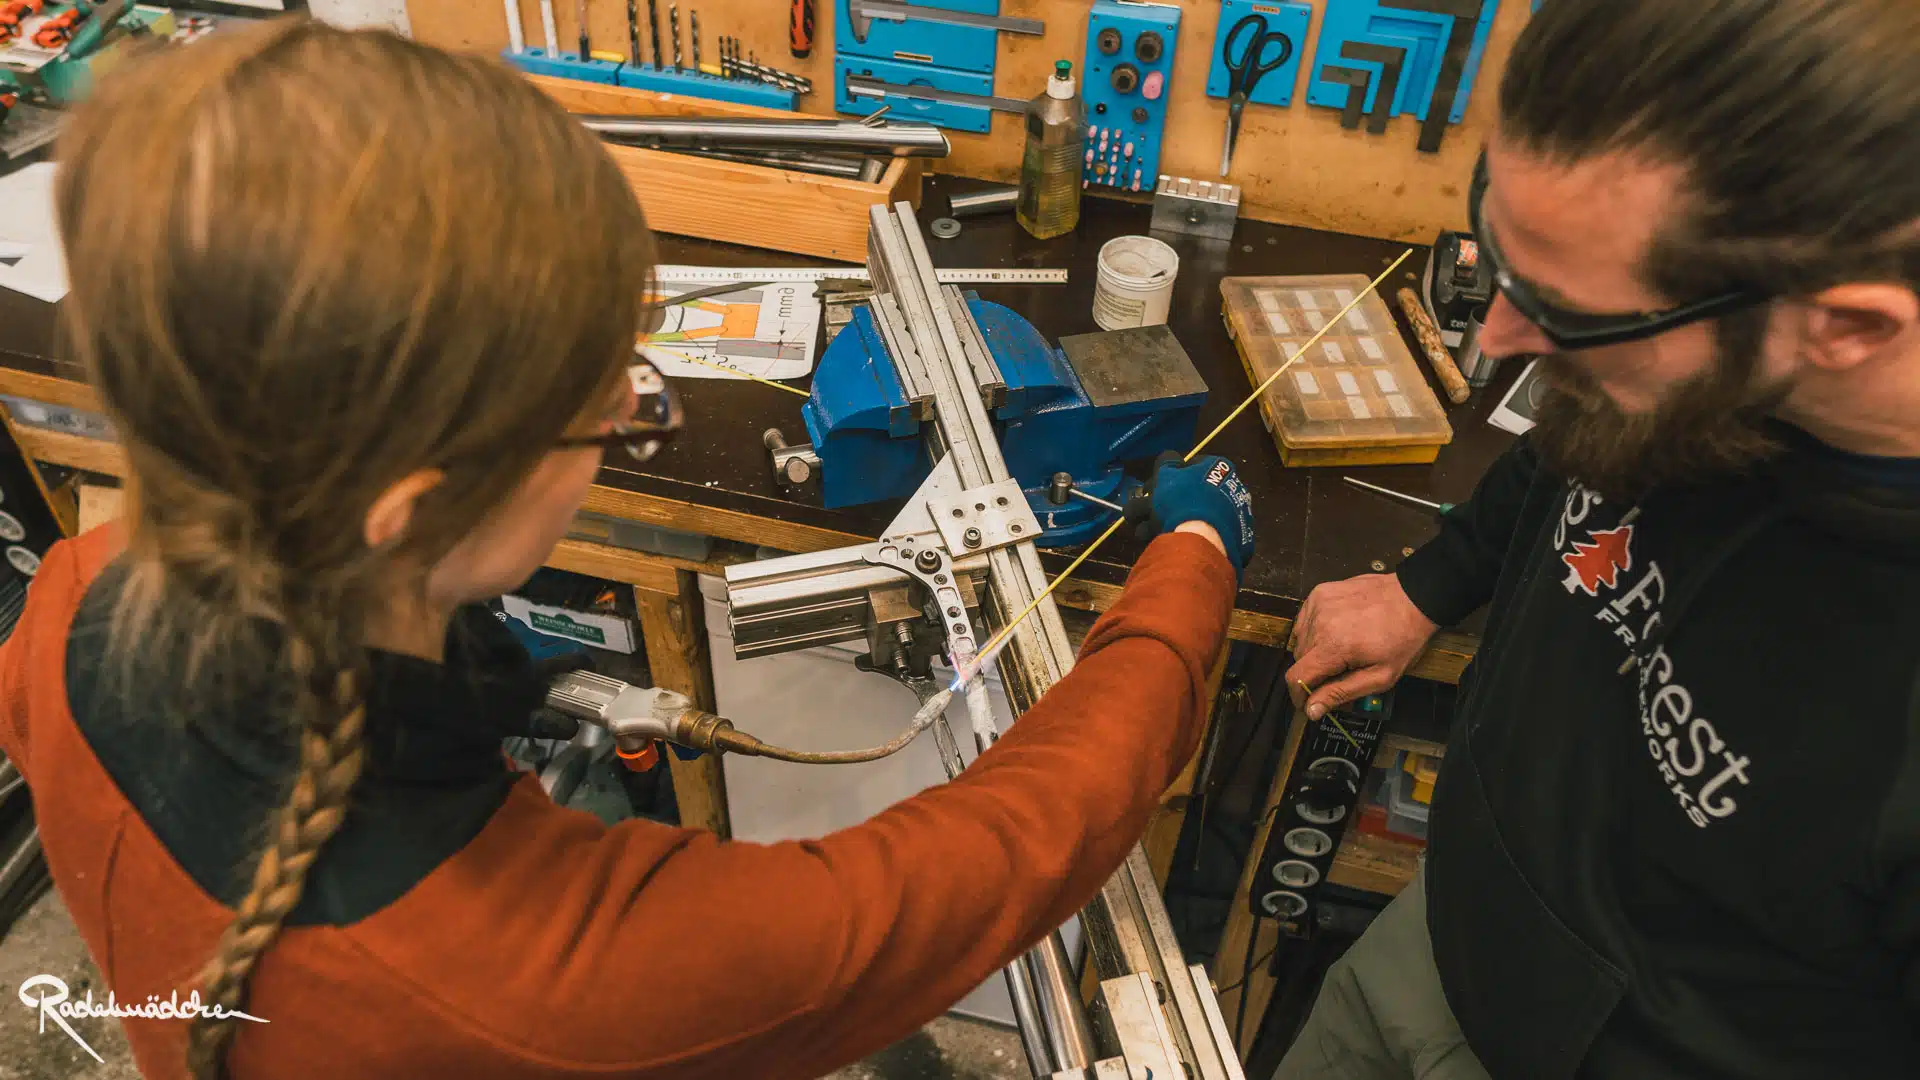
We’ll get started on the chain stays. They usually need to be bent for crank arm clearance, pressed for chain ring and tire clearance, and slotted to accept the dropouts. Perhaps we also need some holes, if the cables are guided internally. After getting everything fit up, we’ll braze the chain stays to the dropouts, and then they are mitered at the same time to the bottom bracket. With the front triangle finished, we’ll check the chain stay fit, which might need a bit of fine tuning. Now you’re ready to tack the frame in the jig! After tacking, the frame is brazed, and now you’re ready for a good night’s sleep.
DAY 4 - Brazing the frame, checking alignment
After brazing we need to chase and face the bottom bracket, so we can check the frame alignment. The heat from the torch causes a bit of distortion, and the frame needs to be straightened. It’s actually a pretty simple process when you have the right tools. Then we get started on the seat stays, they are mitered to the seat tube, shortened and slotted at the dropout side, and brazed in place. Now your dream is really becoming reality! We aren’t done yet, but the end is in sight!
DAY 5 - Finish Work, Details, Sanding
Friday, last day! Depending on which type of bike you are building, you might need or want bridges between the seat and chain stays to increase the stiffness of the frame or so you can easily mount fenders. Perhaps you need bosses to attach a rack as well. The seat tube and head tube need to be reamed, you need a slot in the seat tube, and a drain hole in the bottom of the bottom bracket. At last comes the frame number! You can choose your own frame number, up to 9 letters or numbers. It is stamped in a piece of brass, and we braze it to the frame. And you can also braze one of our small brass trees to the frame if you like as well. That’s it, you did it!!!
