
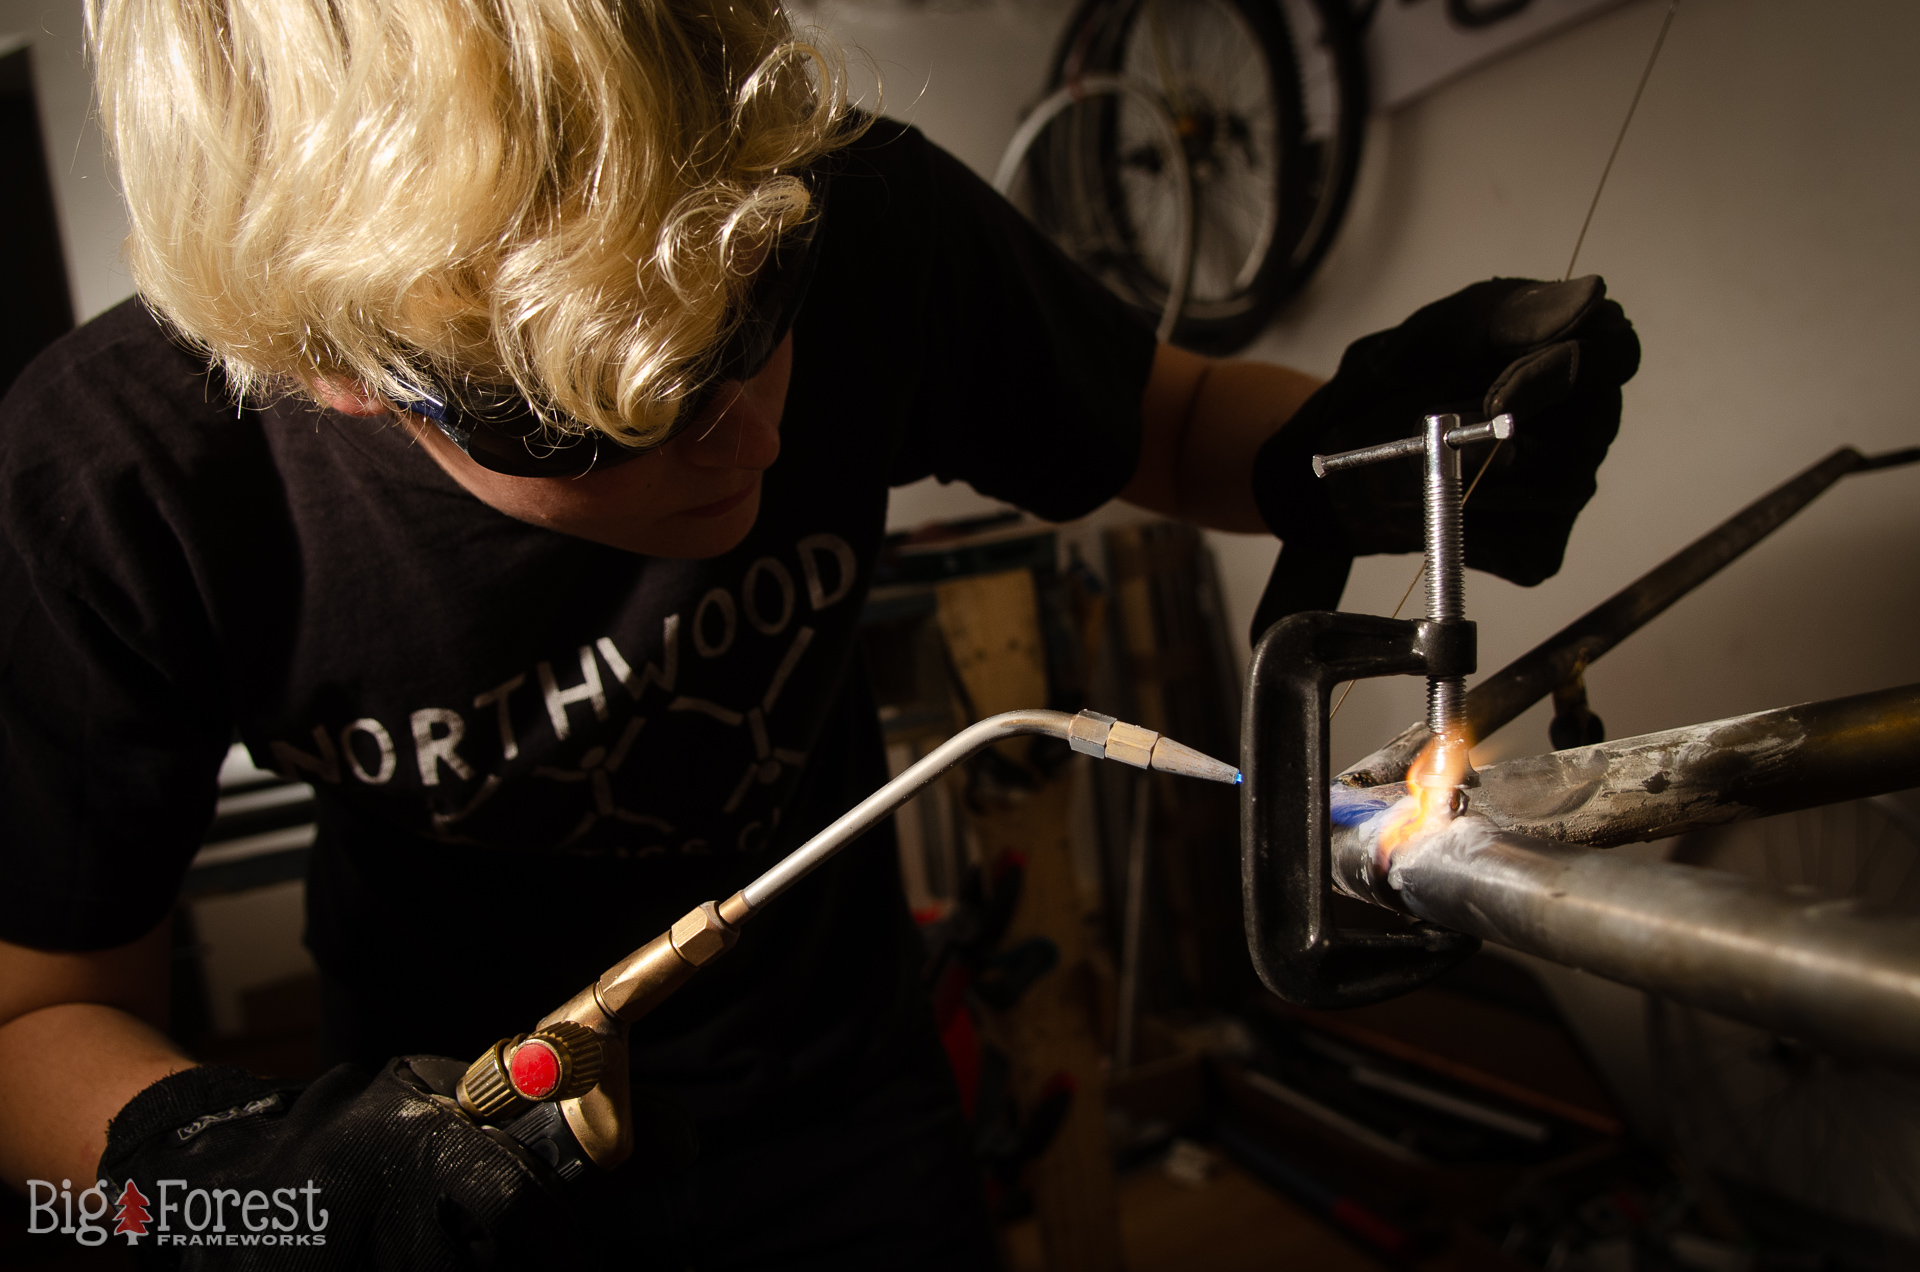
Build Your Own Bicycle Frame.

In your workshop. Together with builders from around the world.

Learn to design and build your own steel bicycle frame, step by step. From your first idea to a finished frame.

LEARN.

Follow a clear process from your first idea to a finished frame.

You’ll learn frame design and geometry, what tools and materials you need, how to prepare and fit the tubes, and how to braze, align and finish your frame.

The lessons are available throughout the course, so you can work through them when you’re ready for each stage.
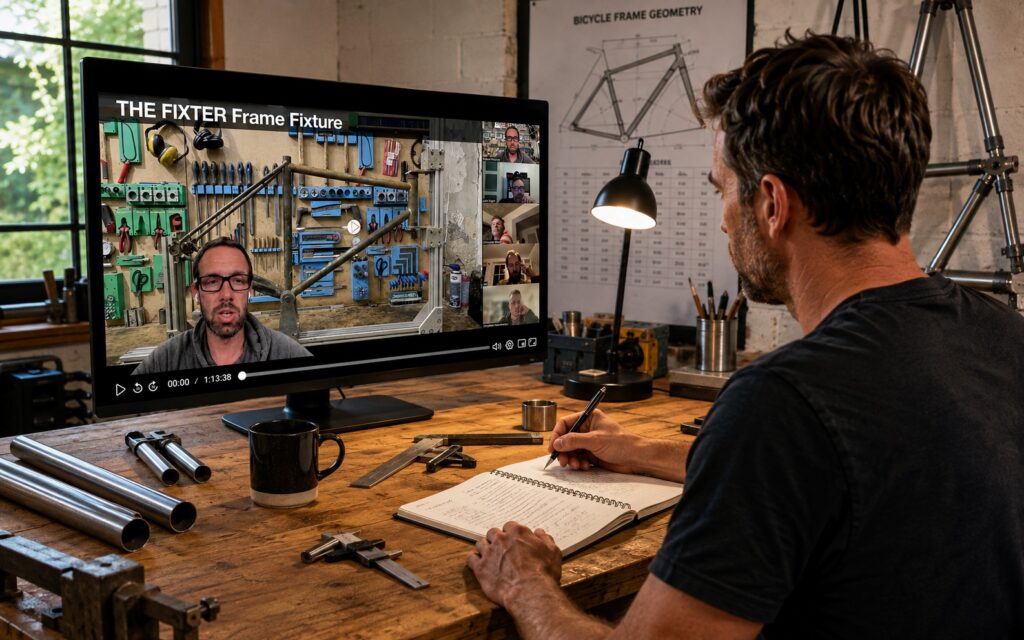
BUILD.

This isn’t a course you simply watch.

You build your own bicycle frame.

You work in your own space, with your own tools, and put what you learn into practice as you move through the project.

You can work at your own pace and spend the time you need on each stage.
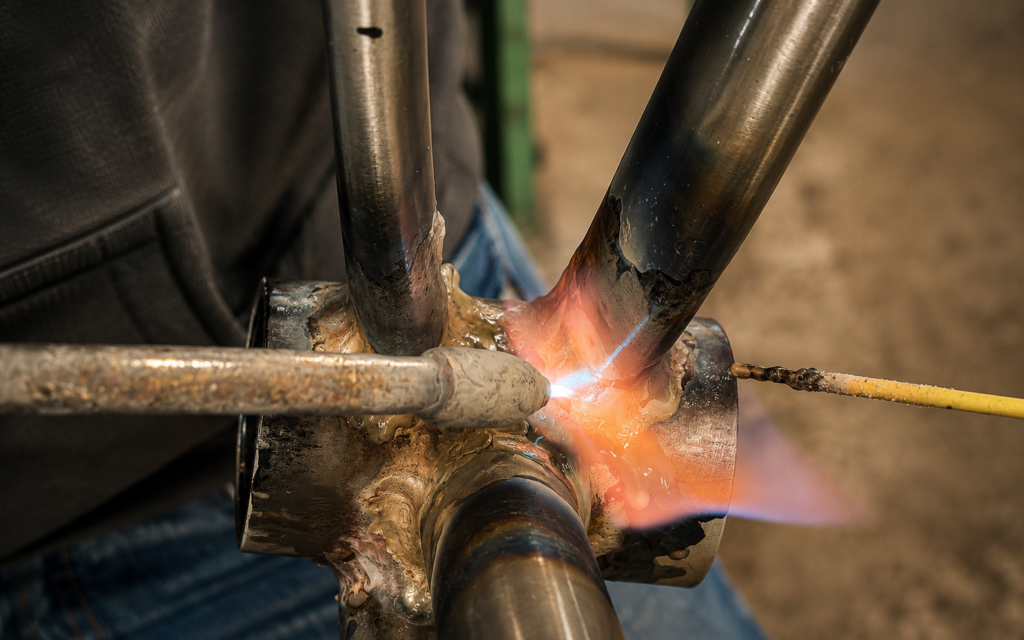
CONNECT.

Building at home doesn’t mean building alone.

Join the weekly live sessions to ask questions, share what you’re working on and learn from what other builders are doing.

You’ll be building alongside a group of people working through the same process, sharing ideas, solving problems and helping each other keep moving.
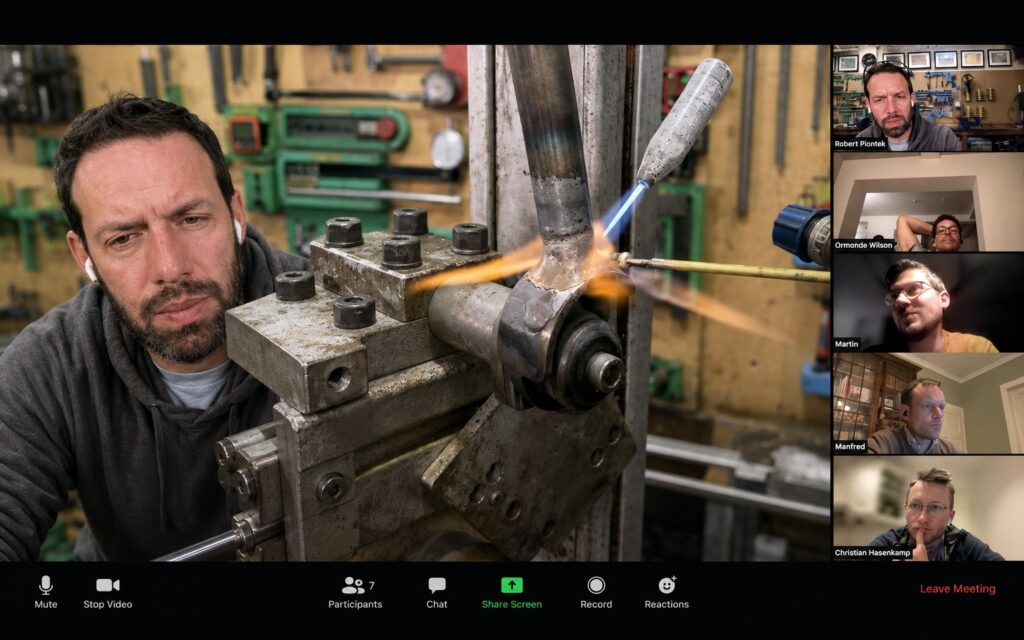
Martin built his frame at home.

Martin is 36 and lives in Potsdam. He joined the Big Forest Frameworks Online Framebuilding Course to build his first bicycle frame at home.

He already had plenty of hands-on experience. He works with CAD, owns a 3D printer and enjoys making things himself.

But he had never built a bicycle frame before. And brazing was completely new to him.

His goal was a gravel bike for roads, forest tracks and longer trips. Rather than designing the most complicated frame possible, he designed one around what he wanted to ride and what he could realistically build in his own workshop.

“I’m honestly amazed that such a practical project can actually be done through an online course.”

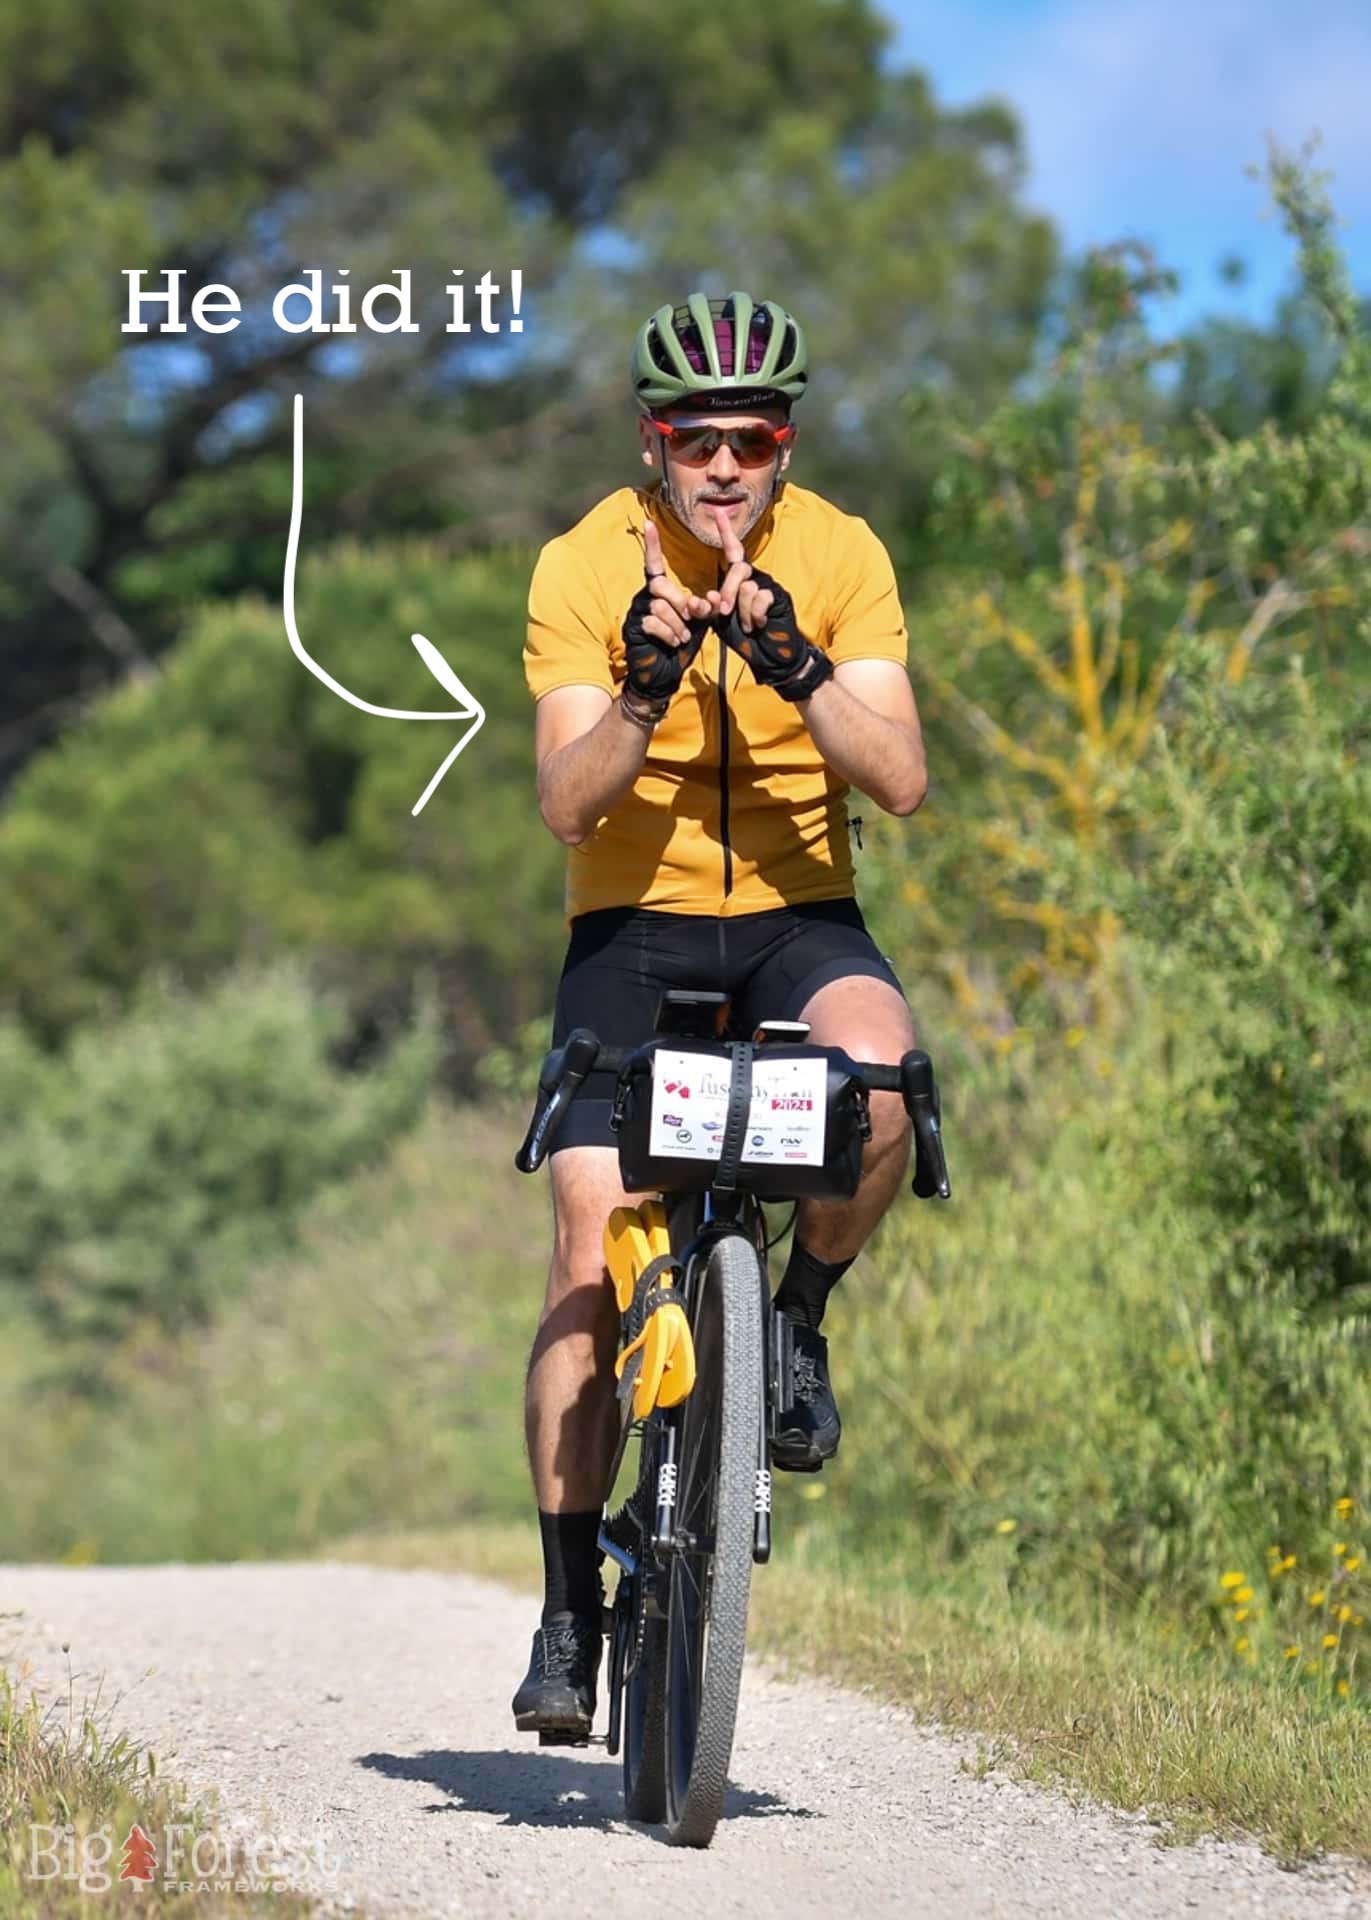
Today, his gravel bike is finished and he’s riding it around Potsdam. He’s planning a longer bike trip through Germany and says he still gets on the bike with a smile.

And apparently one frame wasn’t enough.

Frame number two is already in the works.

From your first idea to a finished frame.

24 step-by-step lessons, organized into six modules, guide you through the complete framebuilding process.

Copy of 01 — GETTING STARTED-2

GETTING STARTED

Tools, workspace, jigs, tubing and bicycle standards.
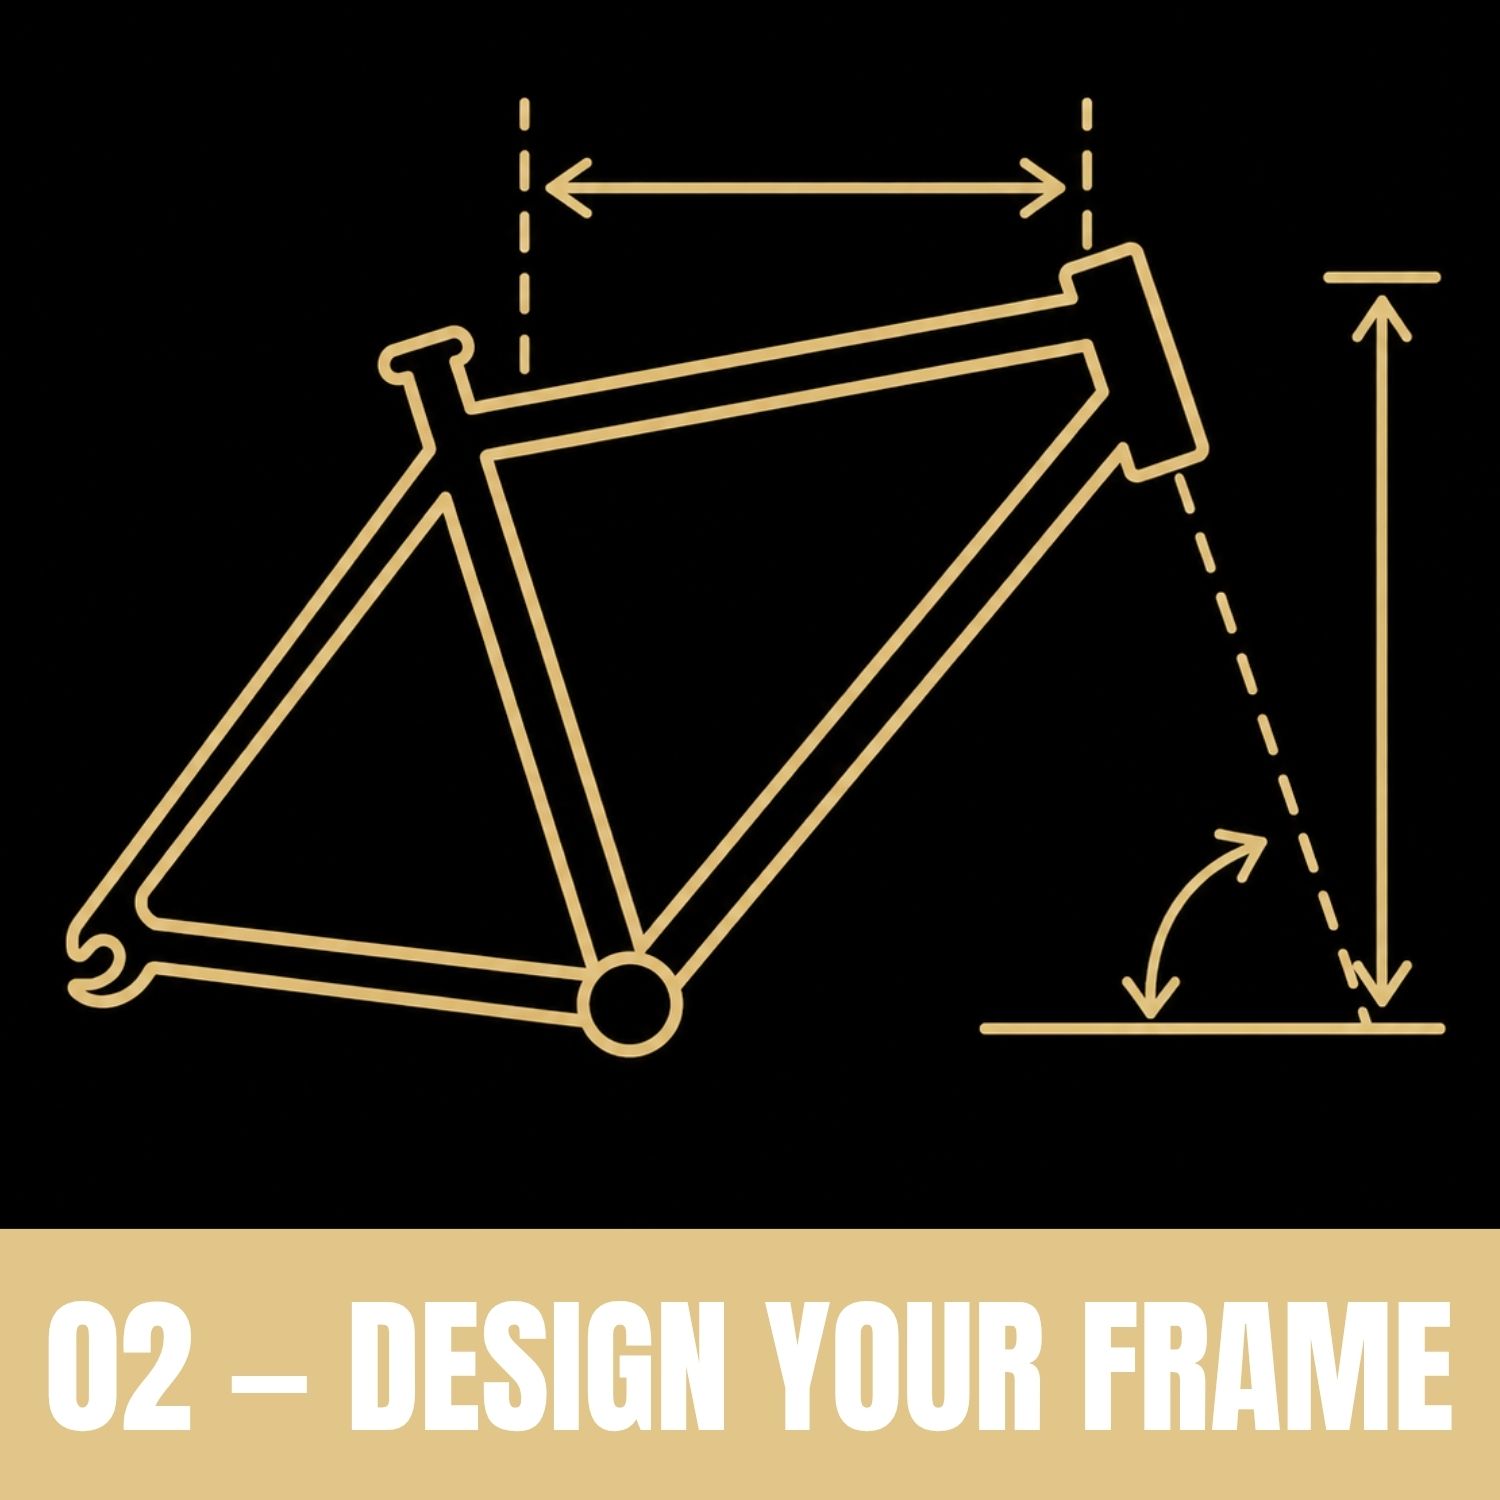
02 — DESIGN YOUR FRAME

DESIGN YOUR FRAME

Geometry, fit, tube selection and the decisions that turn your idea into a buildable frame.
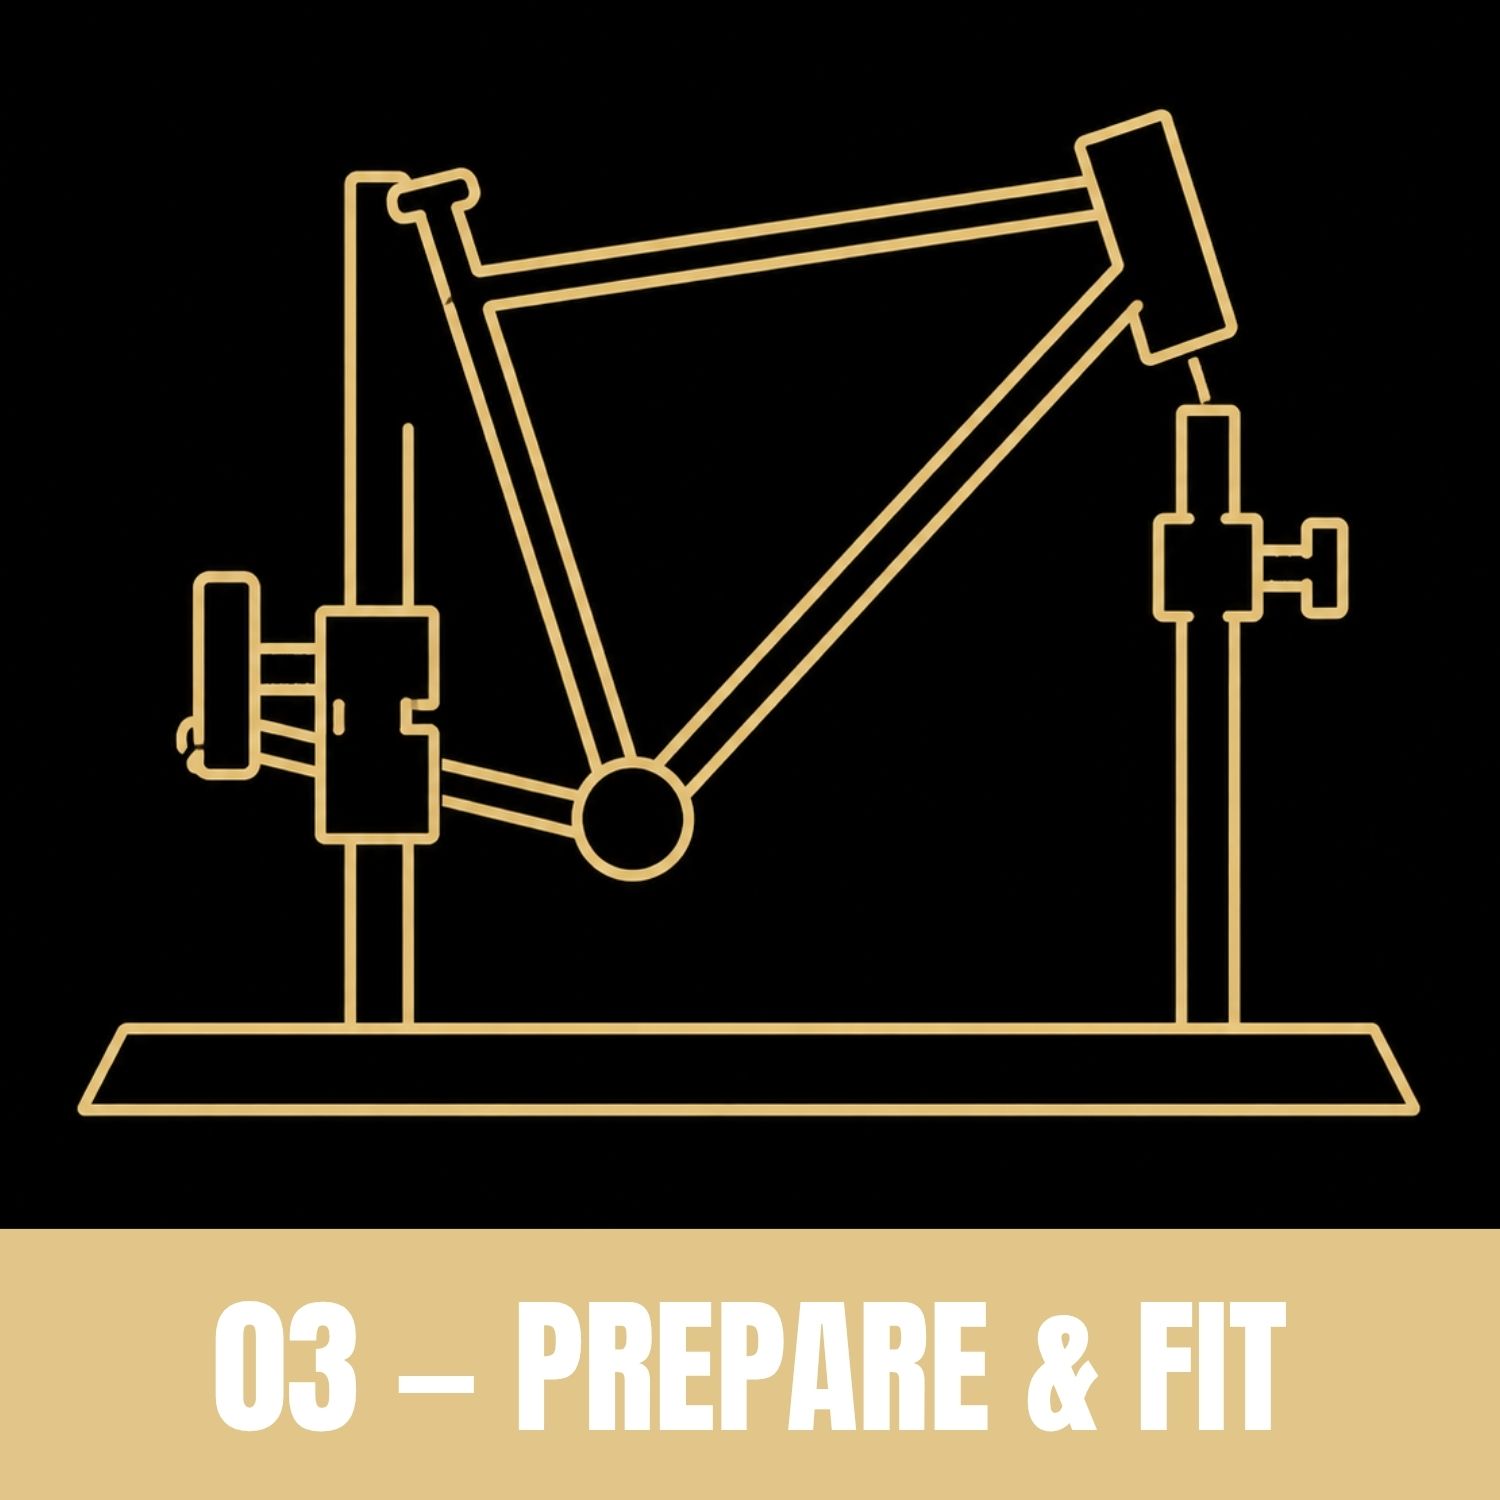
03 — PREPARE & FIT

PREPARE & FIT

Cut and miter the tubes, set up your jig and prepare each joint for brazing.
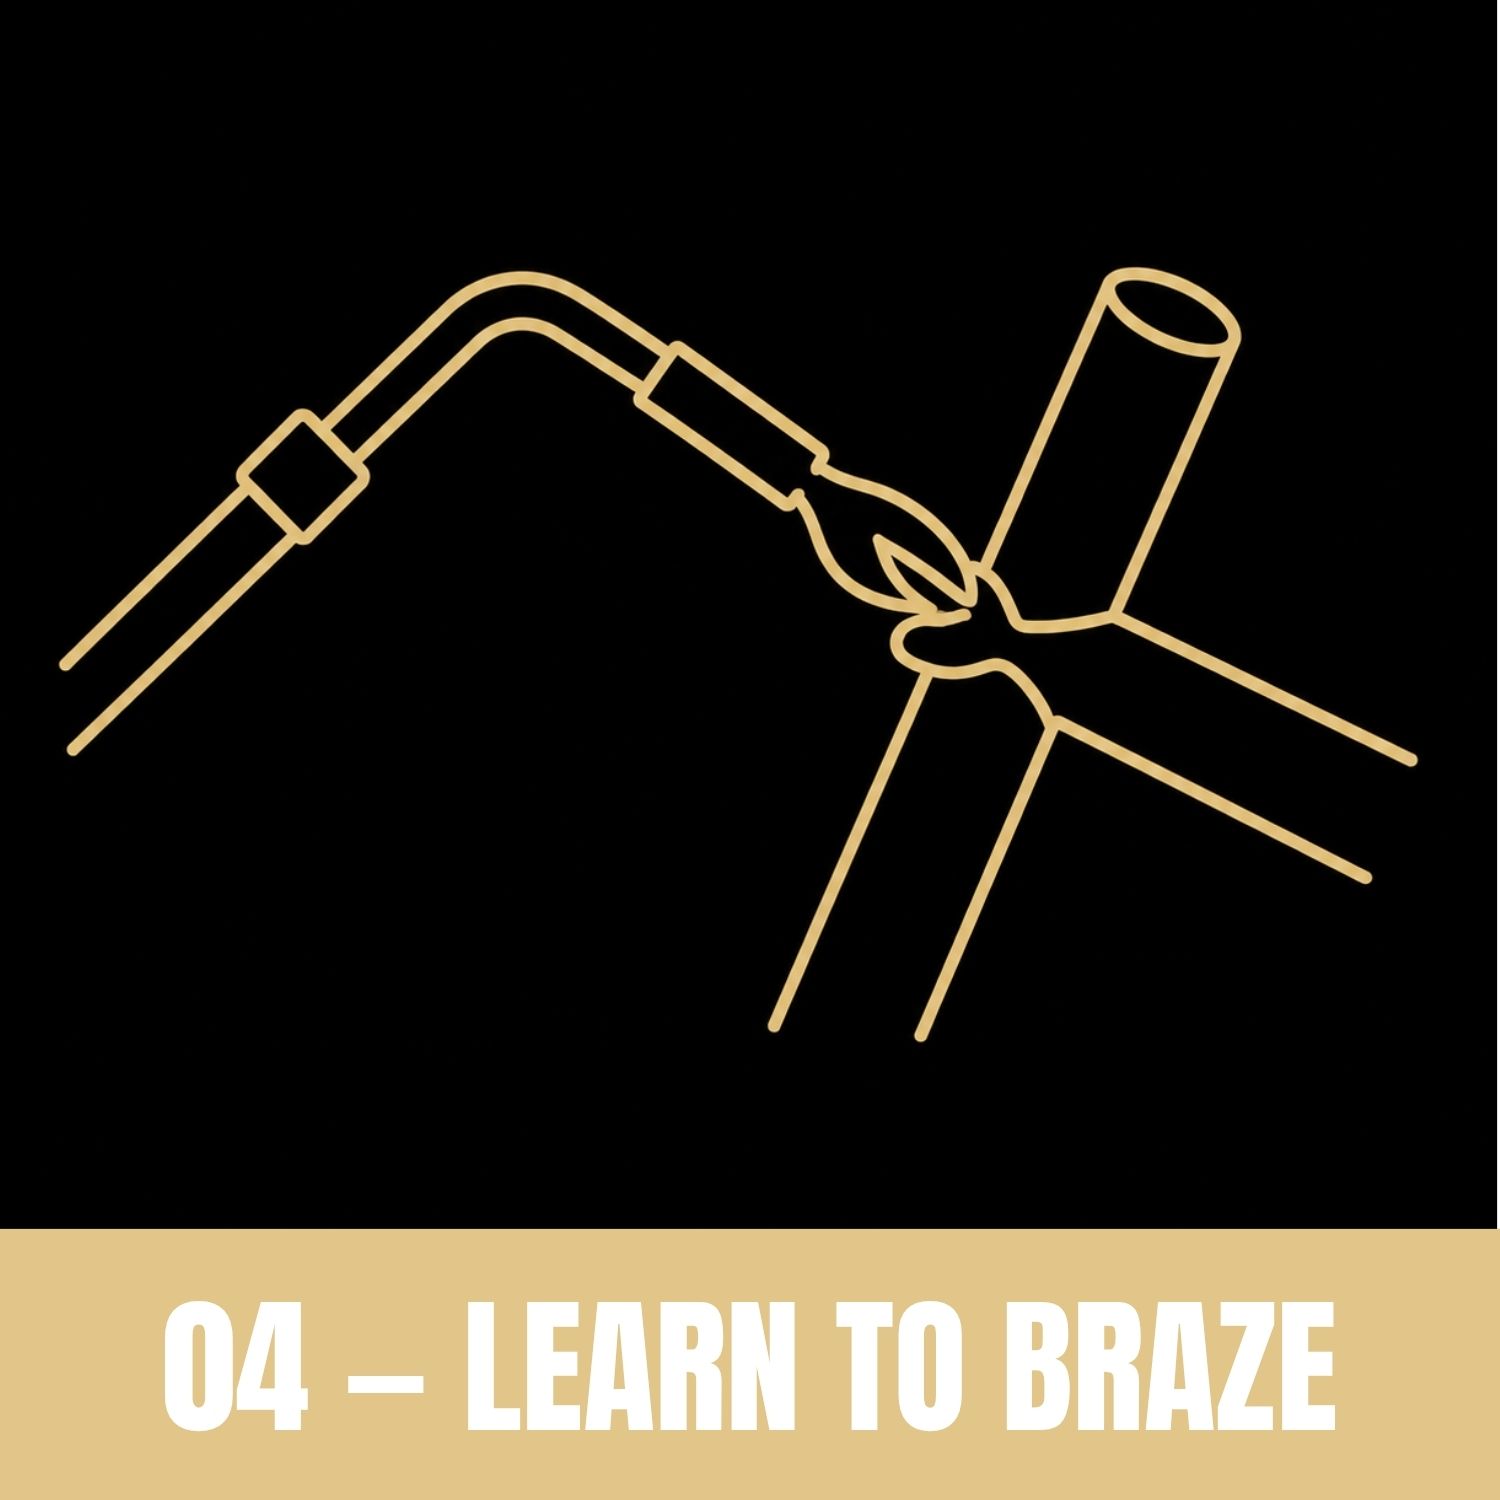
04 — LEARN TO BRAZE

LEARN TO BRAZE

Learn torch control, heat management and the brazing techniques you’ll use on your frame.
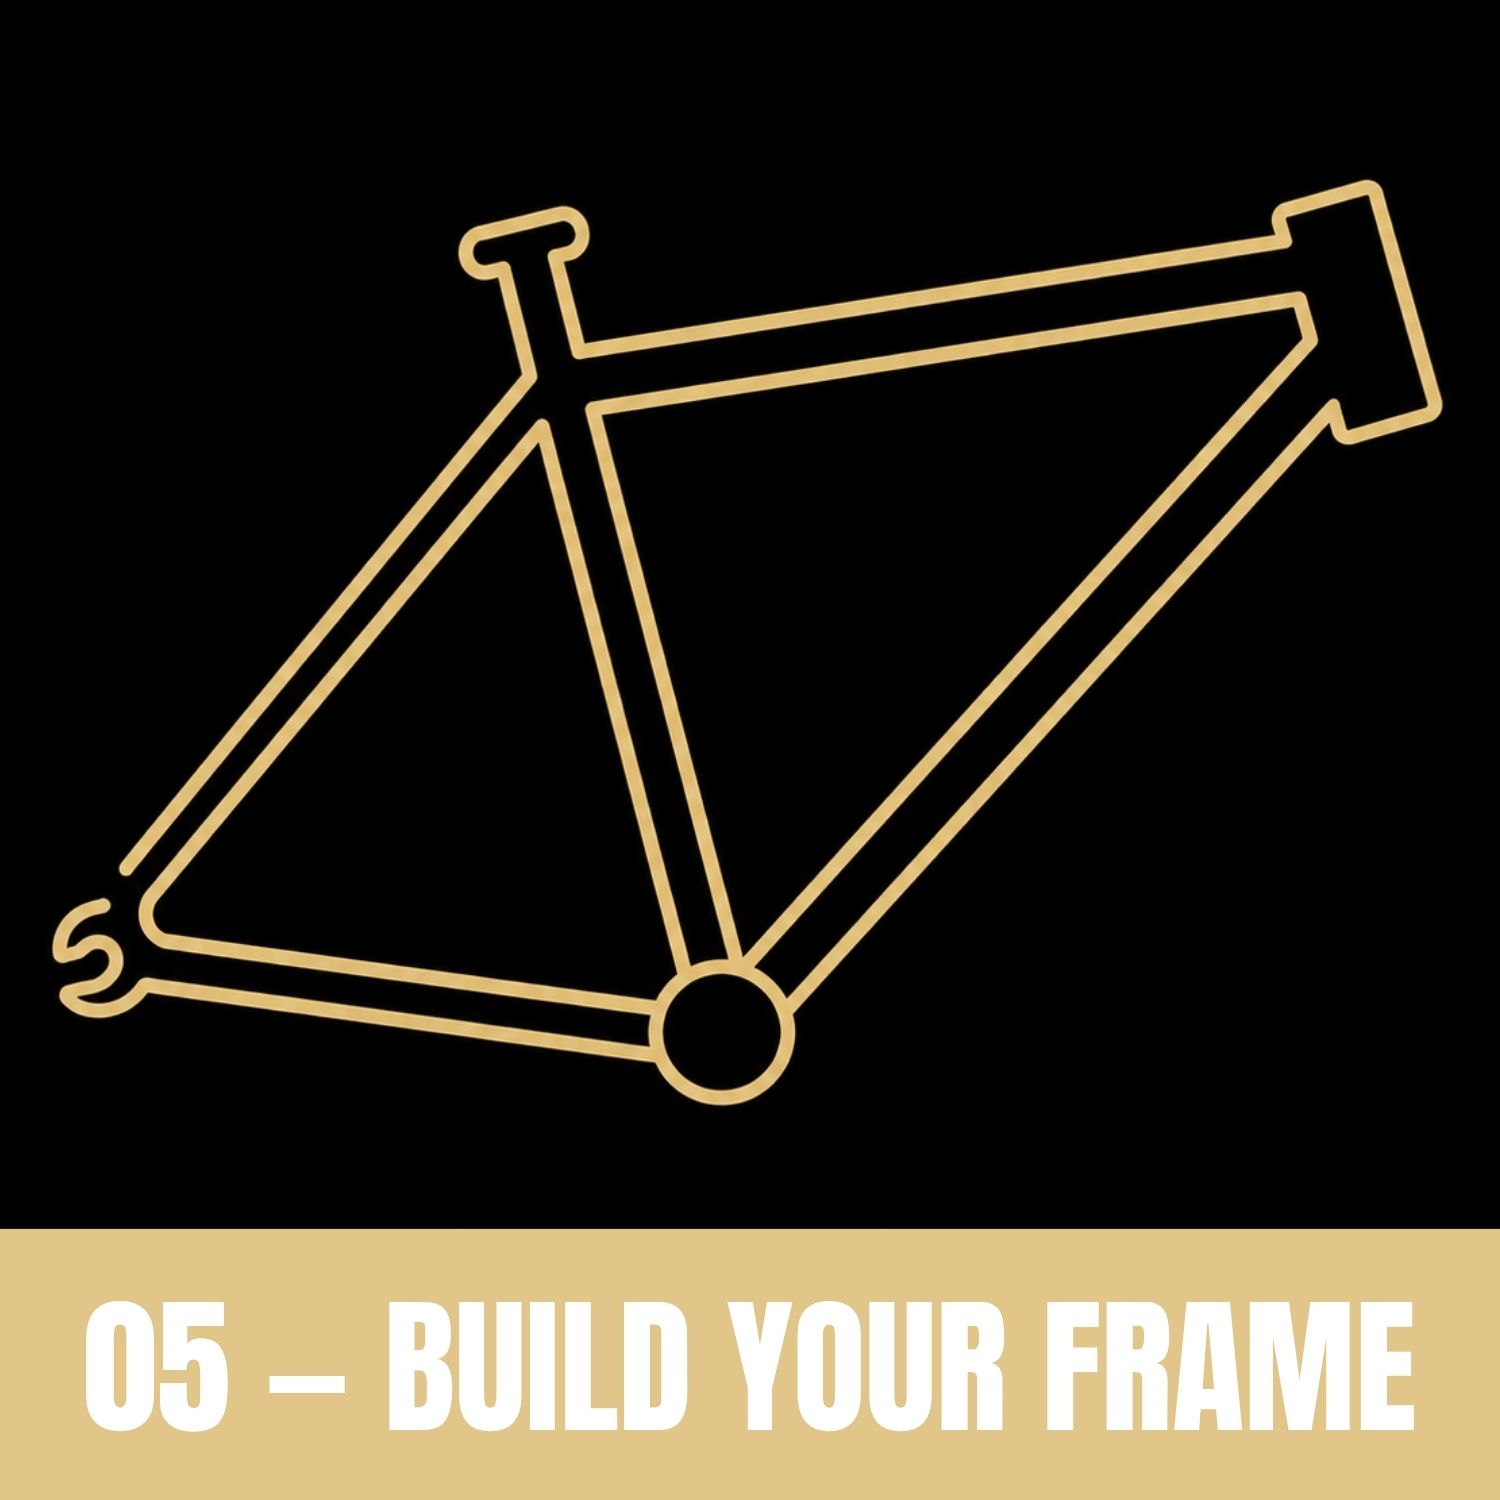
05 — BUILD YOUR FRAME

BUILD YOUR FRAME

Braze the main triangle, chainstays and seatstays, then check and correct alignment.
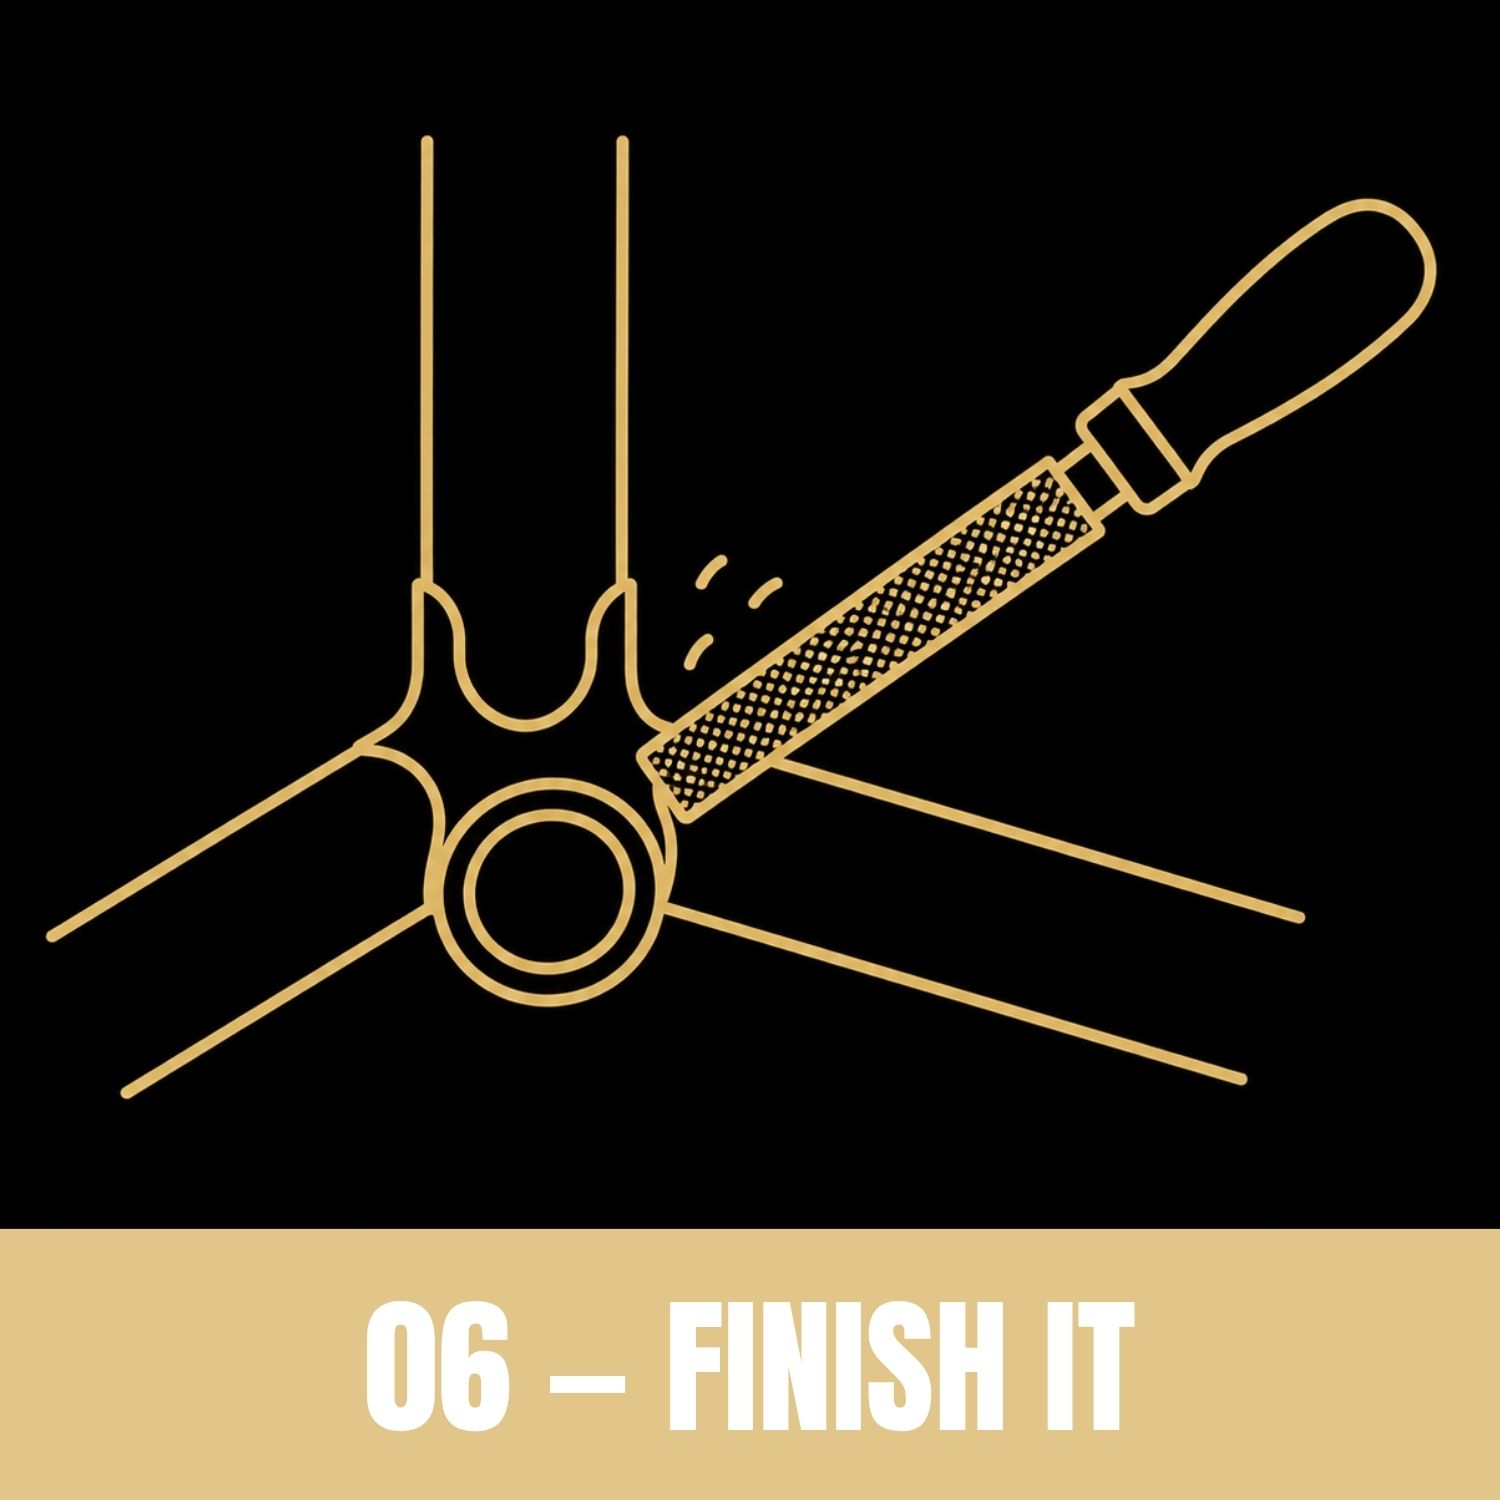
06 — FINISH IT

FINISH IT

Ream, face, tap, file and sand your frame until it’s ready for paint.

What do you need to get started?

EXPERIENCE

Start where you are.
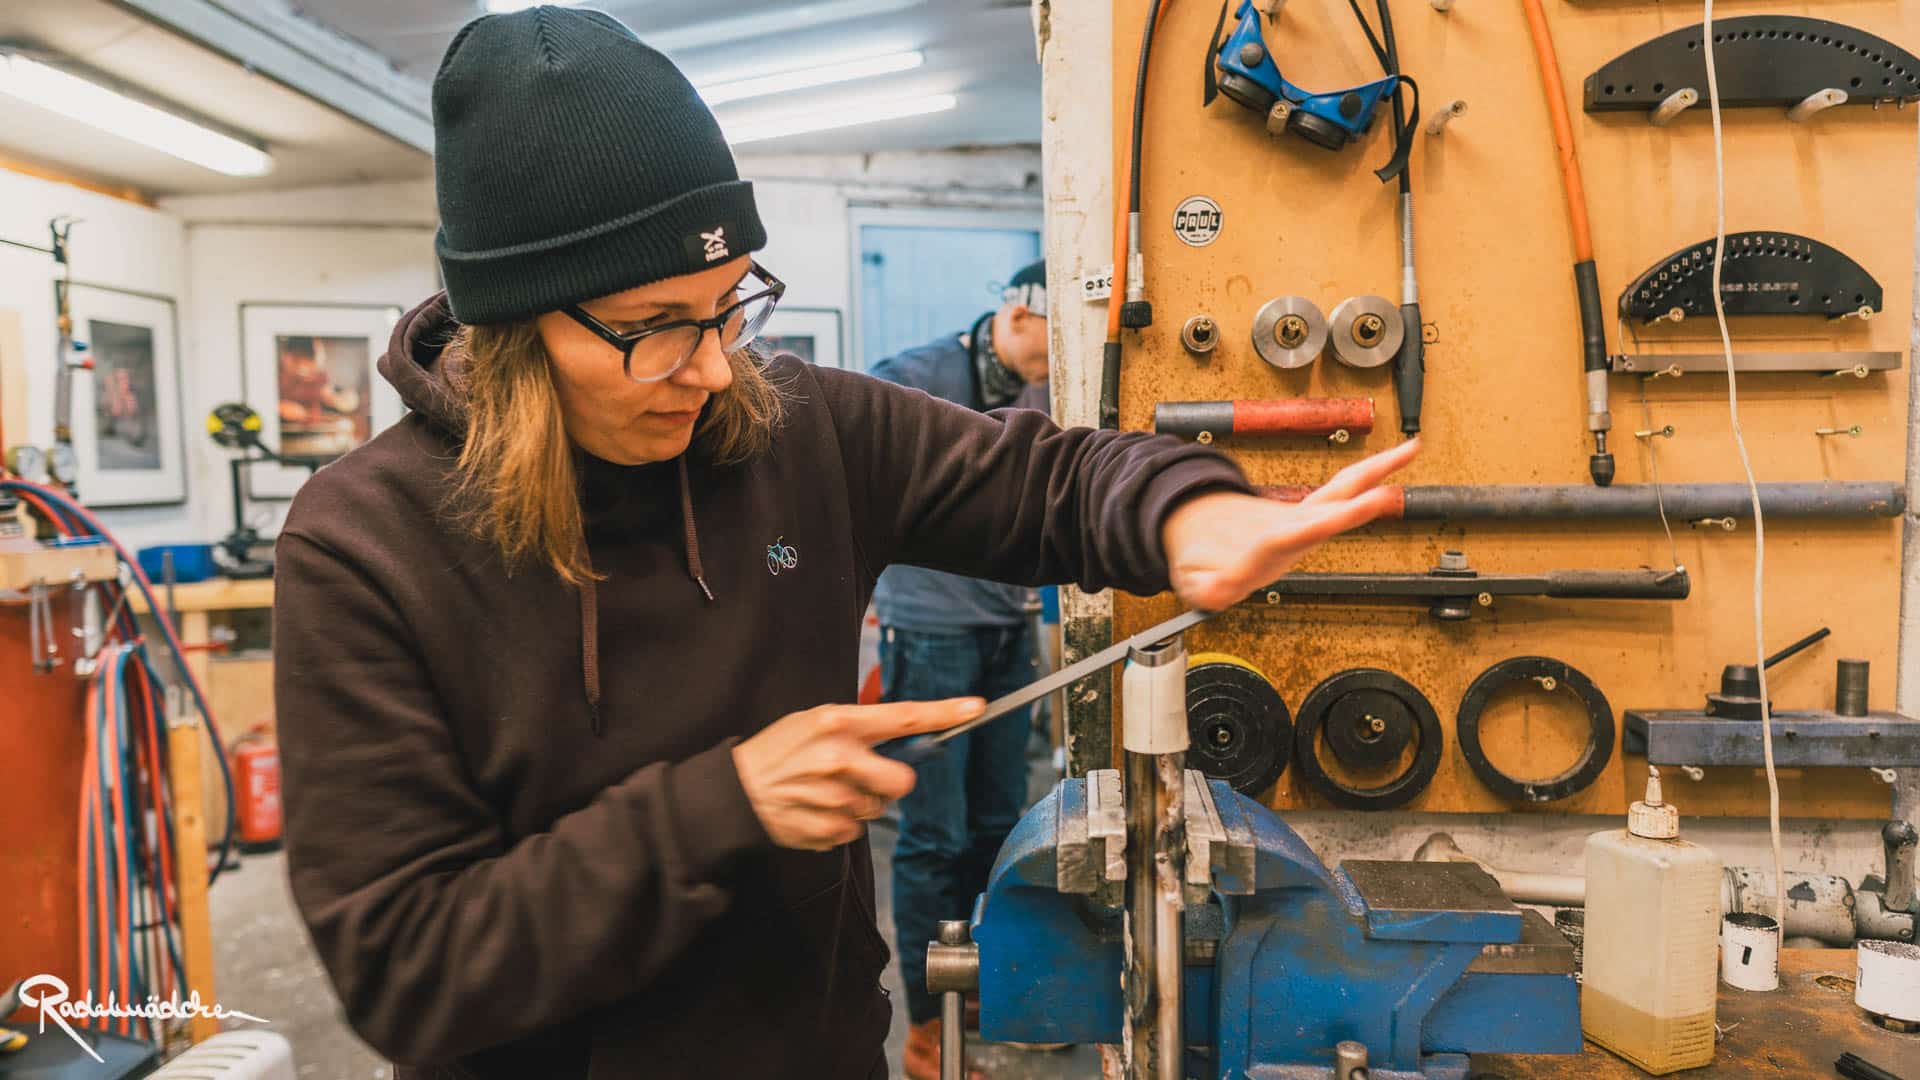
You don’t need to have built a bicycle frame before.

We’ve already had people with very little workshop experience successfully build their first frame through the online course.

Others come with a well-equipped workshop or have even built a frame on their own before joining. They want a clearer process, to improve their skills and to learn from someone who has been building and teaching for years.

You don’t need to start at a particular level. You just need to want to build.

A PLACE TO WORK

You need less space than you think.
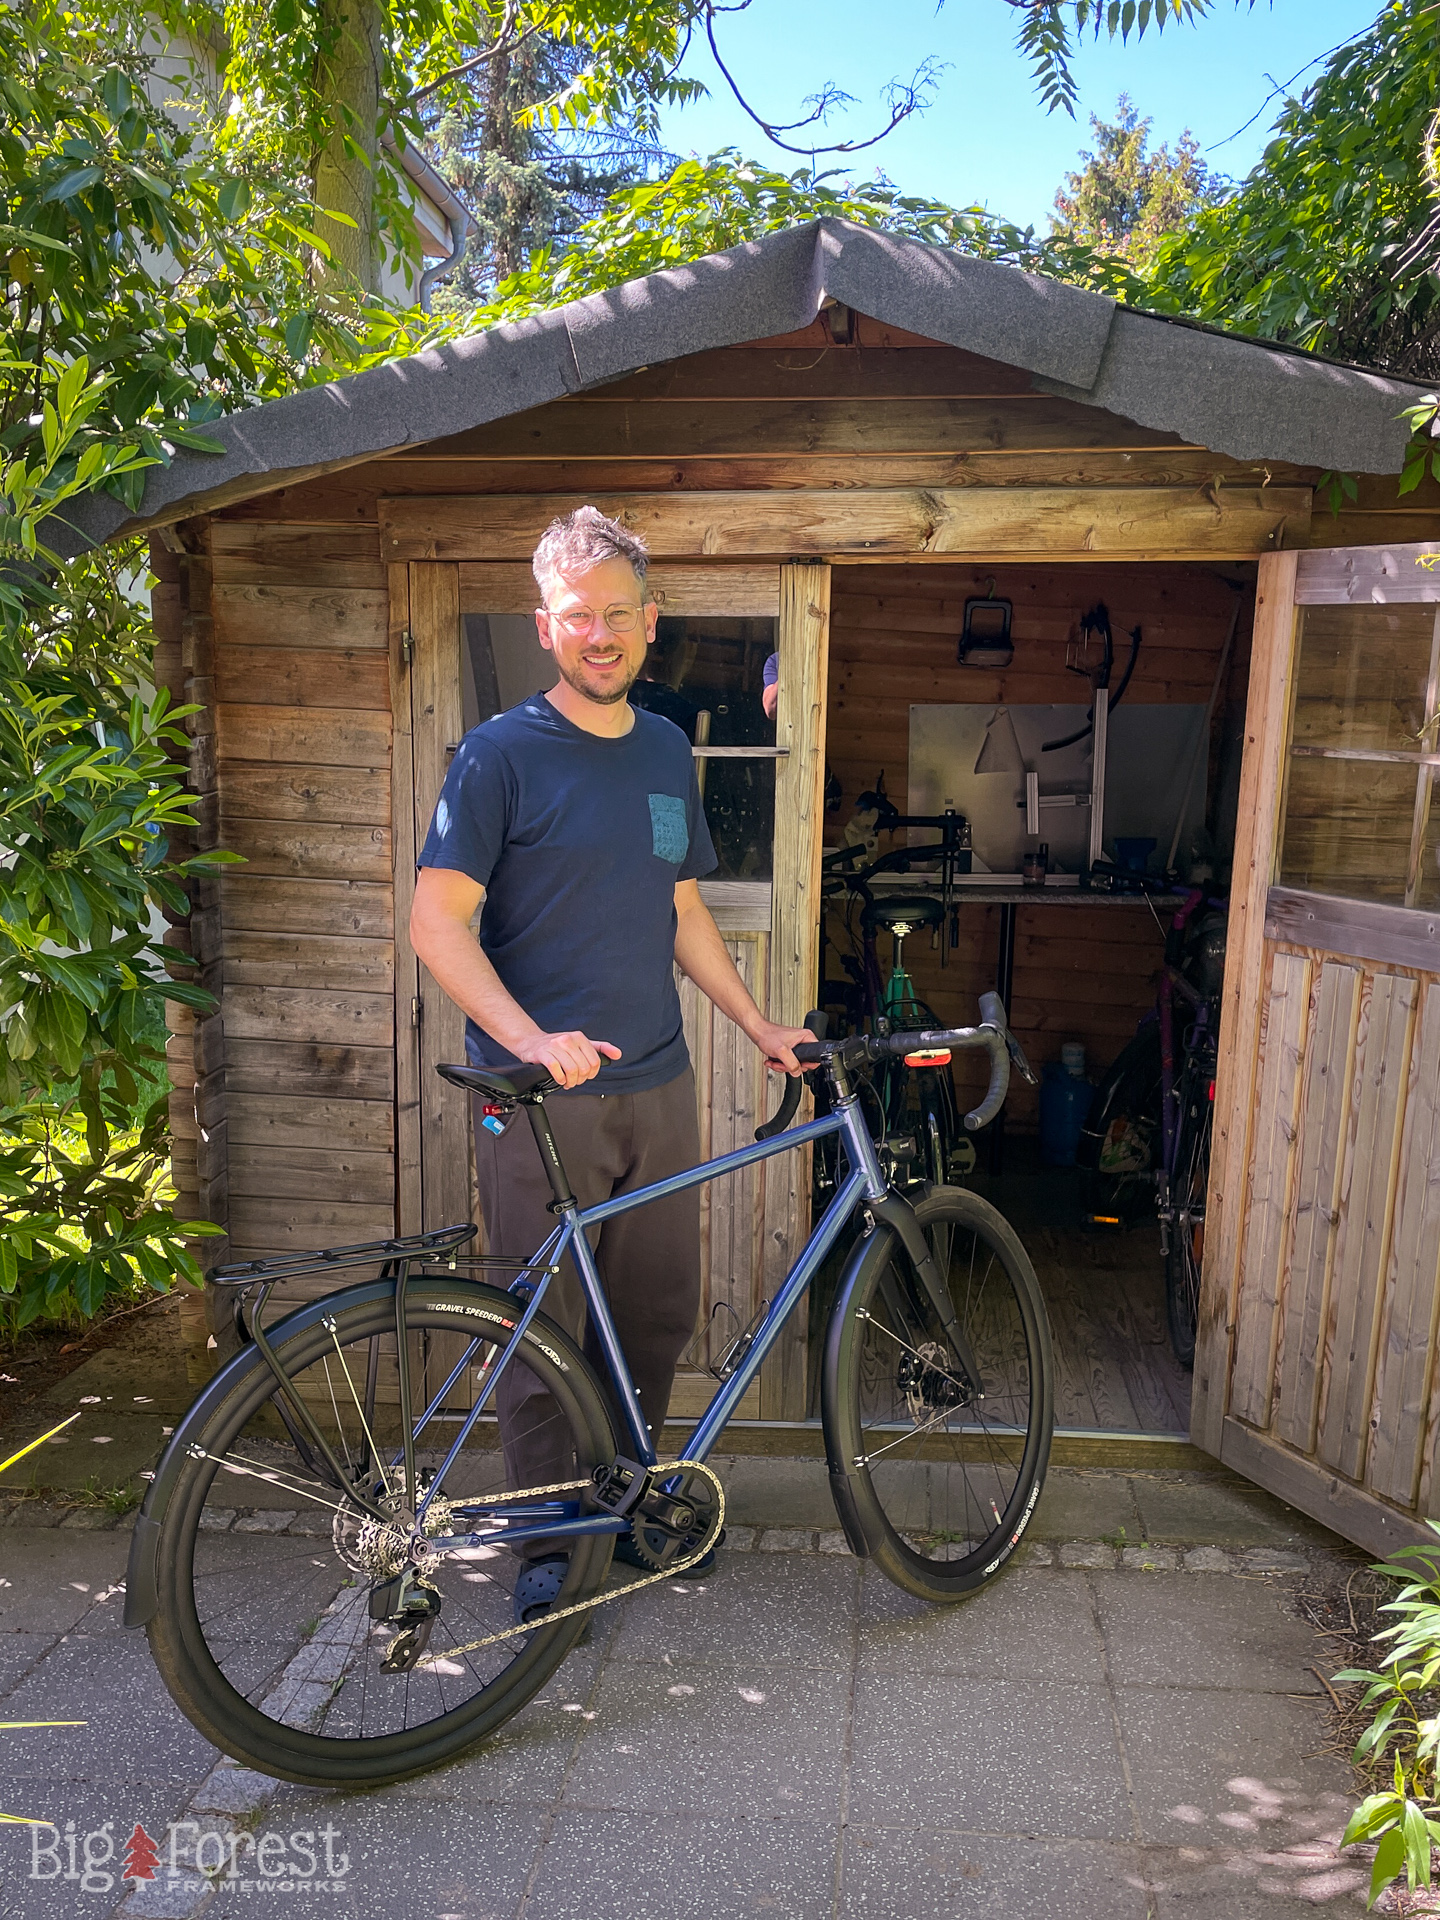
You don’t need a large or professionally equipped workshop to build a bicycle frame.

Martin built his frame in a small shed in his garden without electricity. When he needs power, he runs an extension cord down from his second-floor apartment.

What does matter is having a safe, well-ventilated space. Brazing means working with an open flame and very hot metal, so your workspace needs good ventilation and must be free of fire hazards.

TOOLING & COSTS

Start simple. Add as you go.
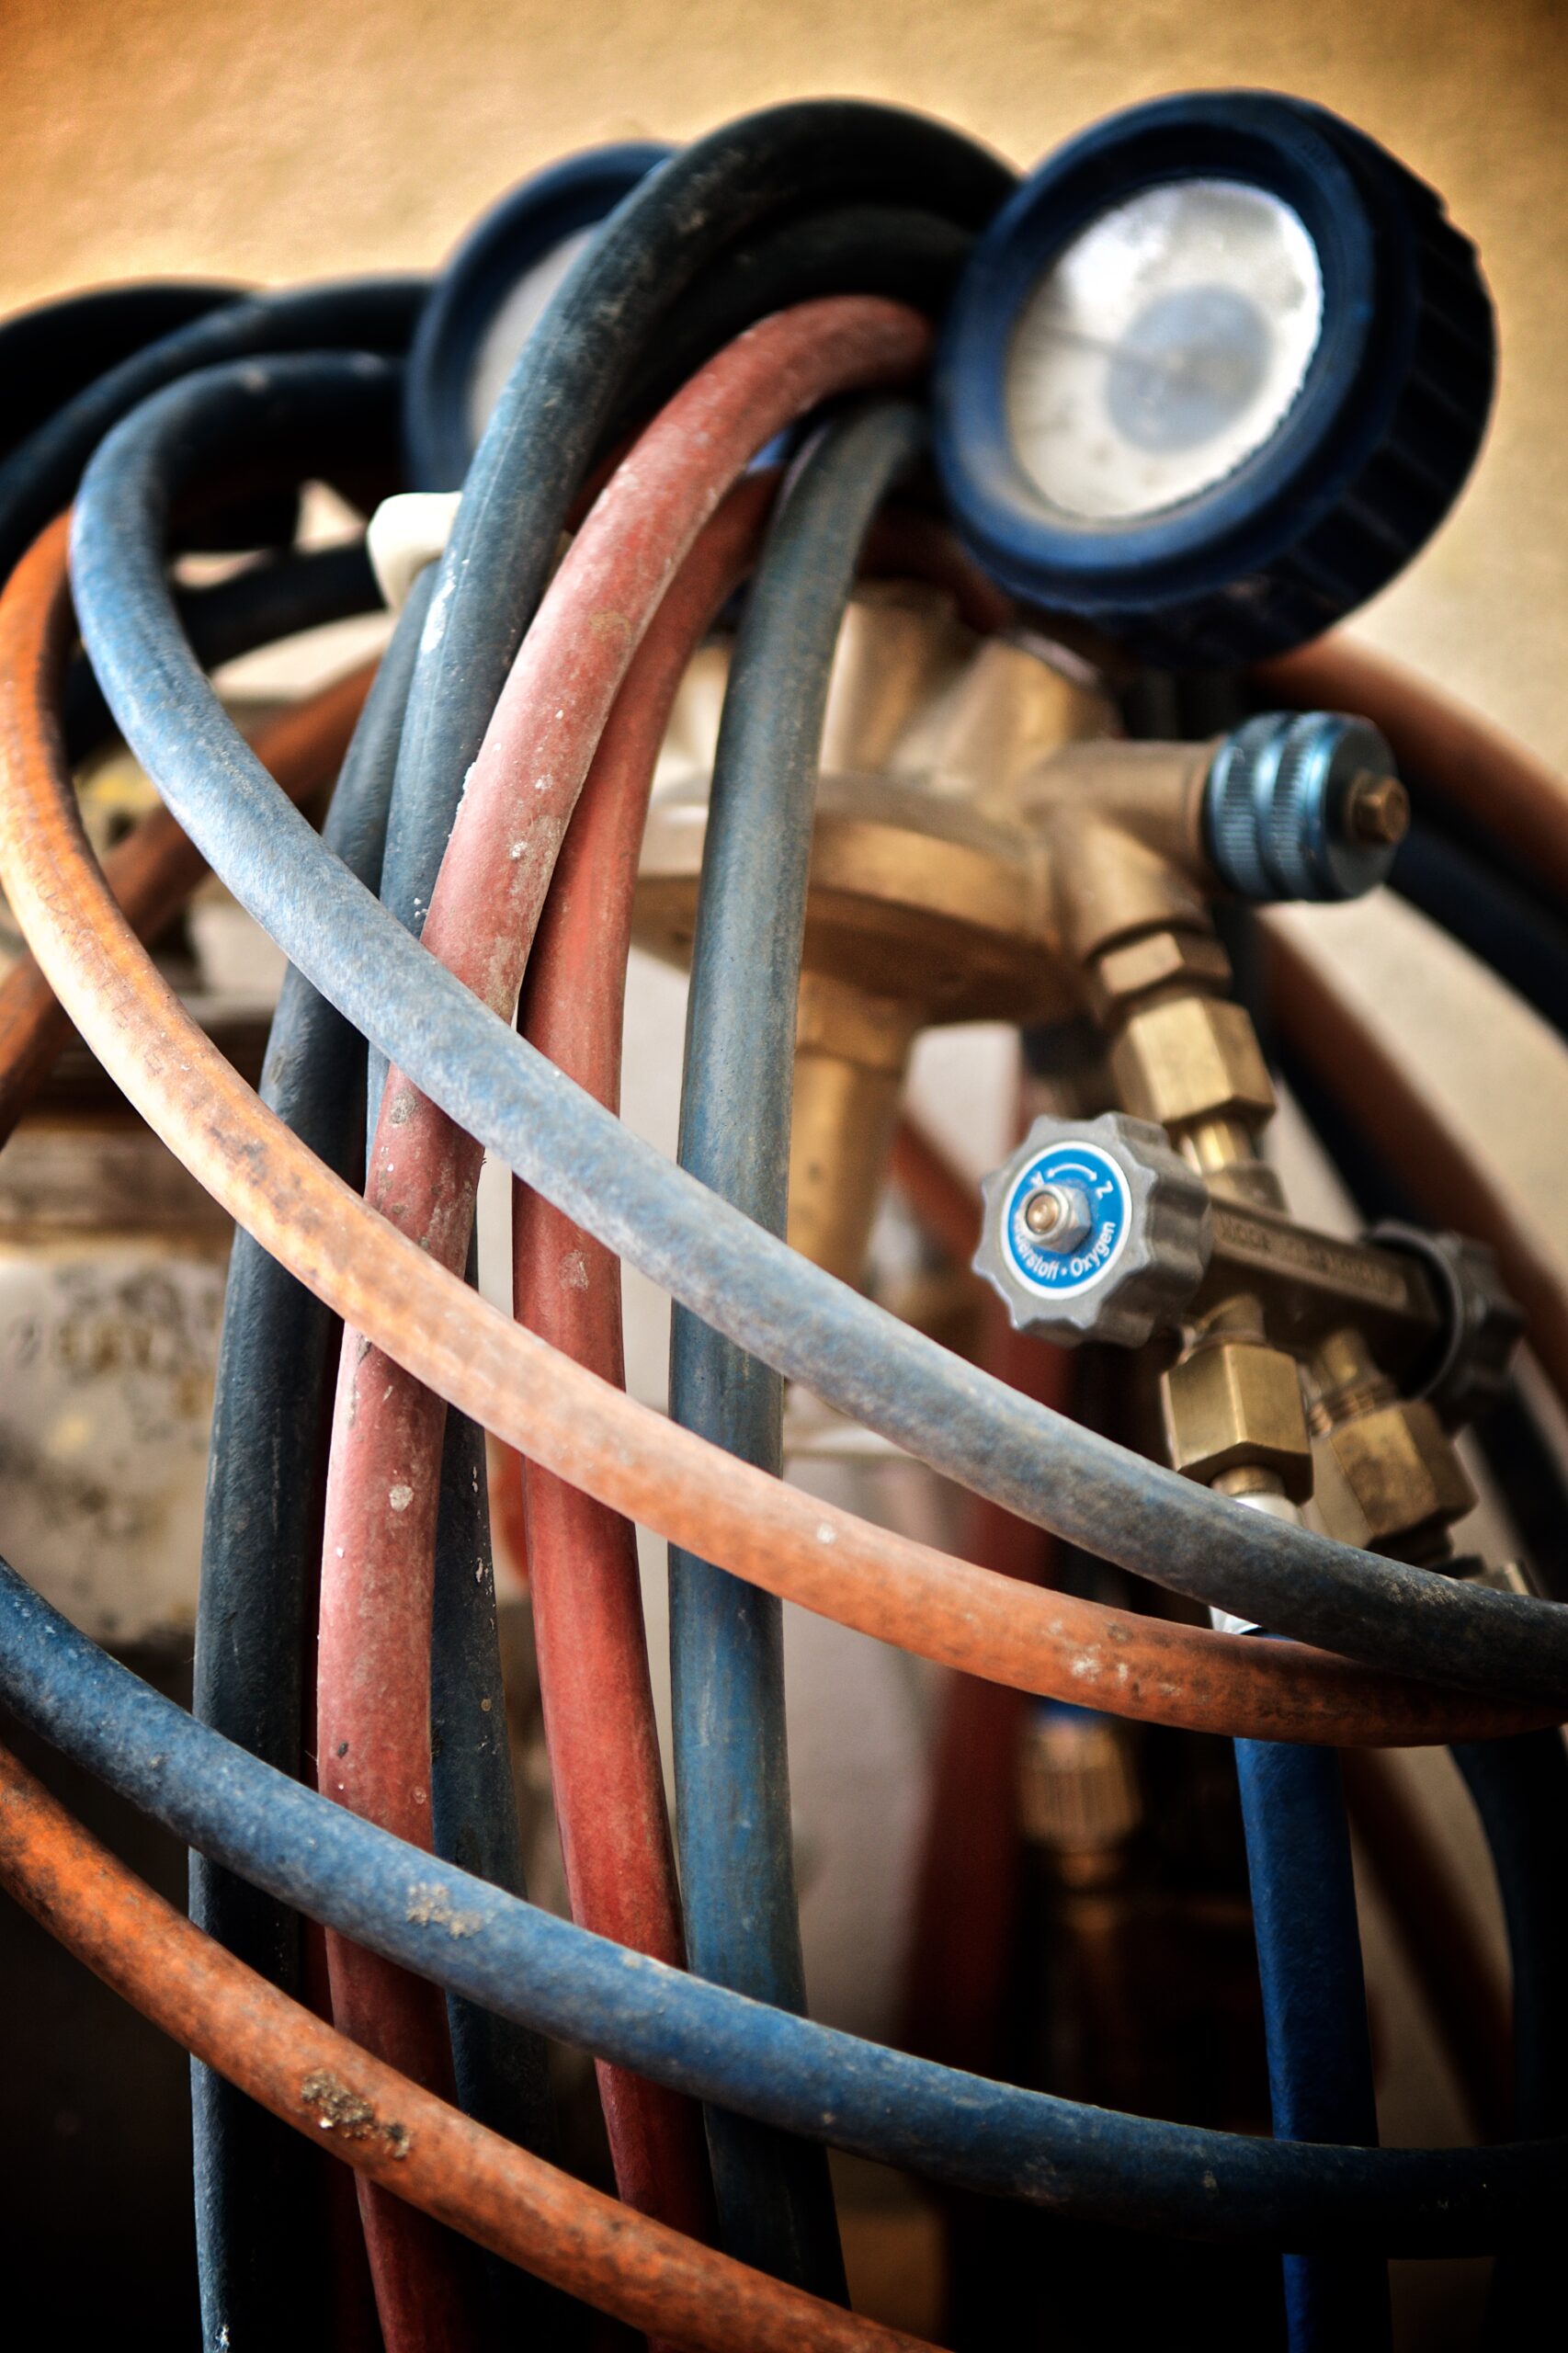
You will need some specialist tools to build a frame, but you don’t need a workshop full of expensive machinery.

If you’re starting from scratch, expect to spend around €1,500 for the basic setup. That includes a brazing torch and our Fixter framebuilding fixture. If you already have a workshop with a good selection of hand tools, you’ll probably already own some of what I recommend.

And you don’t need to buy everything at once. You can add tools as you progress through the build, buying them when you actually need them rather than making the entire investment before you start.

I’ll also show you some specialist tools that can make certain jobs easier or faster. They’re nice to have, but they’re not necessary to build your first frame. I didn’t have most of them when I started building frames.

You’ll also need the materials for the frame itself. Tubing, dropouts and the other frame parts are not included in those figures, and you should budget at least €500 for your first frame.

One of the first things we do in the course is go through the tooling together, so you know what you really need, what you can do without, and when you’ll need it.

TIME

Take your time. Learn it properly.
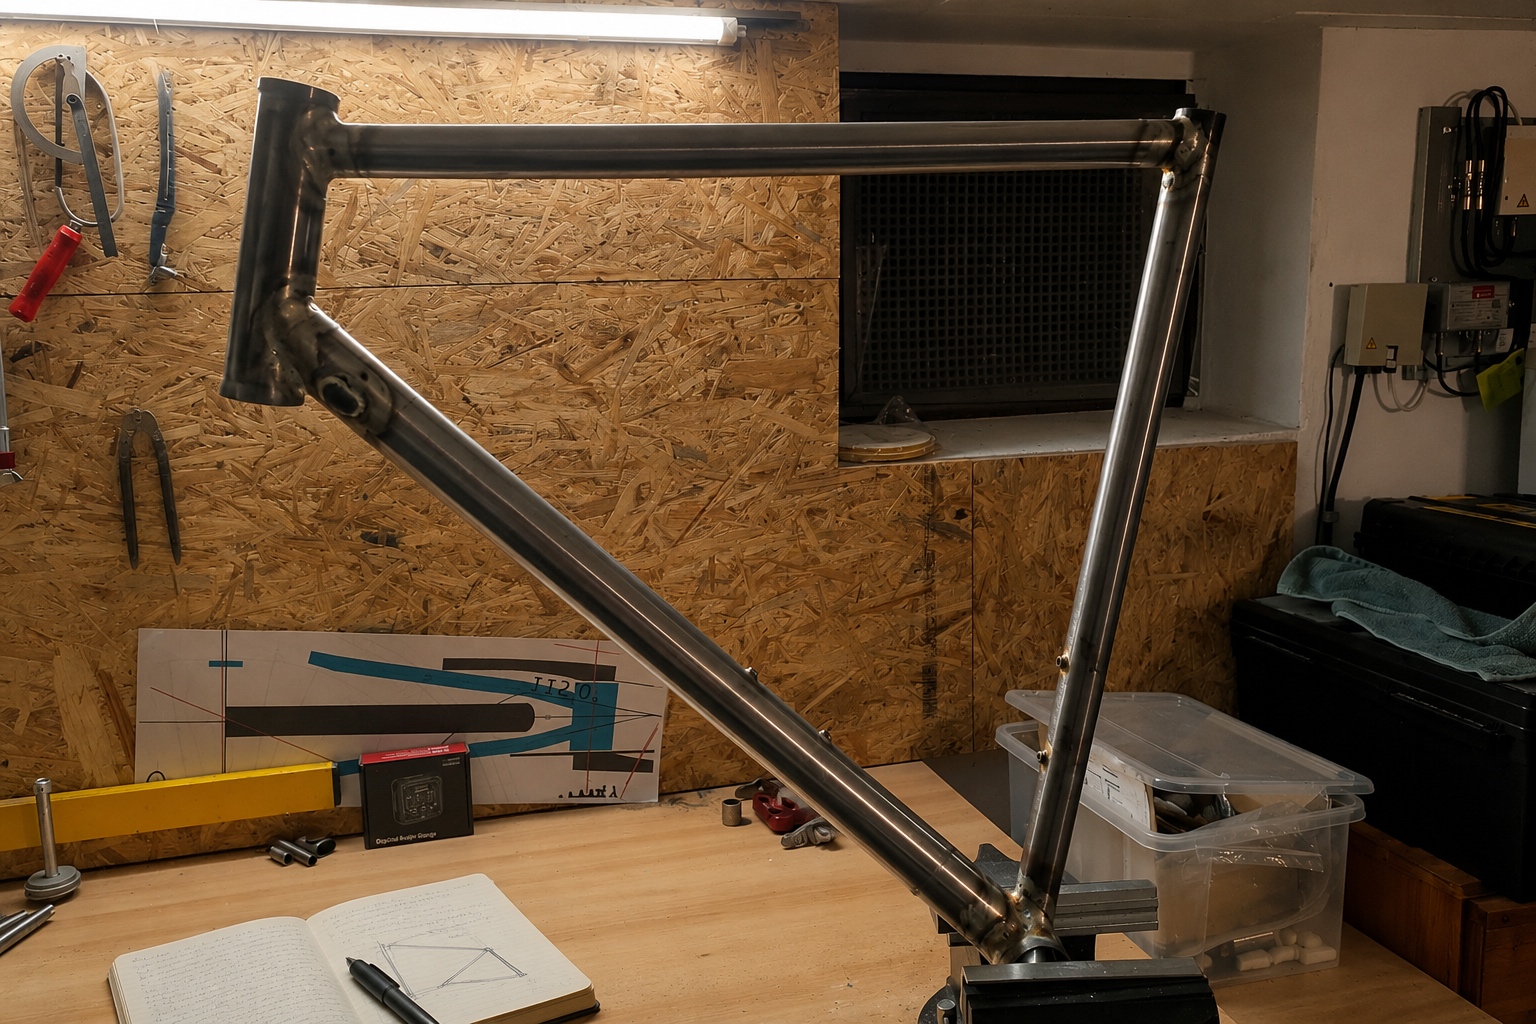
Building a frame at home takes time. More time than building one with me in the workshop.

If you come to Potsdam for the in-person course, you’ll build your frame in five intensive days. At home, I would expect your first frame to take at least twice that amount of working time, and probably more.

But for many people, taking five days away from work and family, and traveling to Germany, simply isn’t an option. With the online course, you decide when you work and how quickly you progress. An evening here, a Saturday there, or an intensive week if that’s what suits you.

And taking your time has an advantage. You have to understand the process, make the decisions yourself and solve more of the problems along the way.

It takes longer. But by the end, you haven’t just built a frame. You’ve learned how to build frames.

Can you really learn framebuilding online?

Yes.

But I wondered about that myself. I’d thought about creating this course for years, but wasn’t sure it would work.

But people have been teaching themselves to build frames for decades. Everything you need to know is out there in books, videos, forums and conversations with other builders. The difficult part is knowing what matters, what comes next, and what to do when something goes wrong.

That’s what I wanted this course to provide: a clear process, support when you get stuck, and a group of people working toward the same goal.

And now I’ve seen it work. People have gone through the course in their own workshops and come out the other side with bicycle frames they built themselves.

The goal isn’t to start building a frame.

It’s to finish one.

This course can take you there.

I’ve taught hundreds of people to build their first frame.

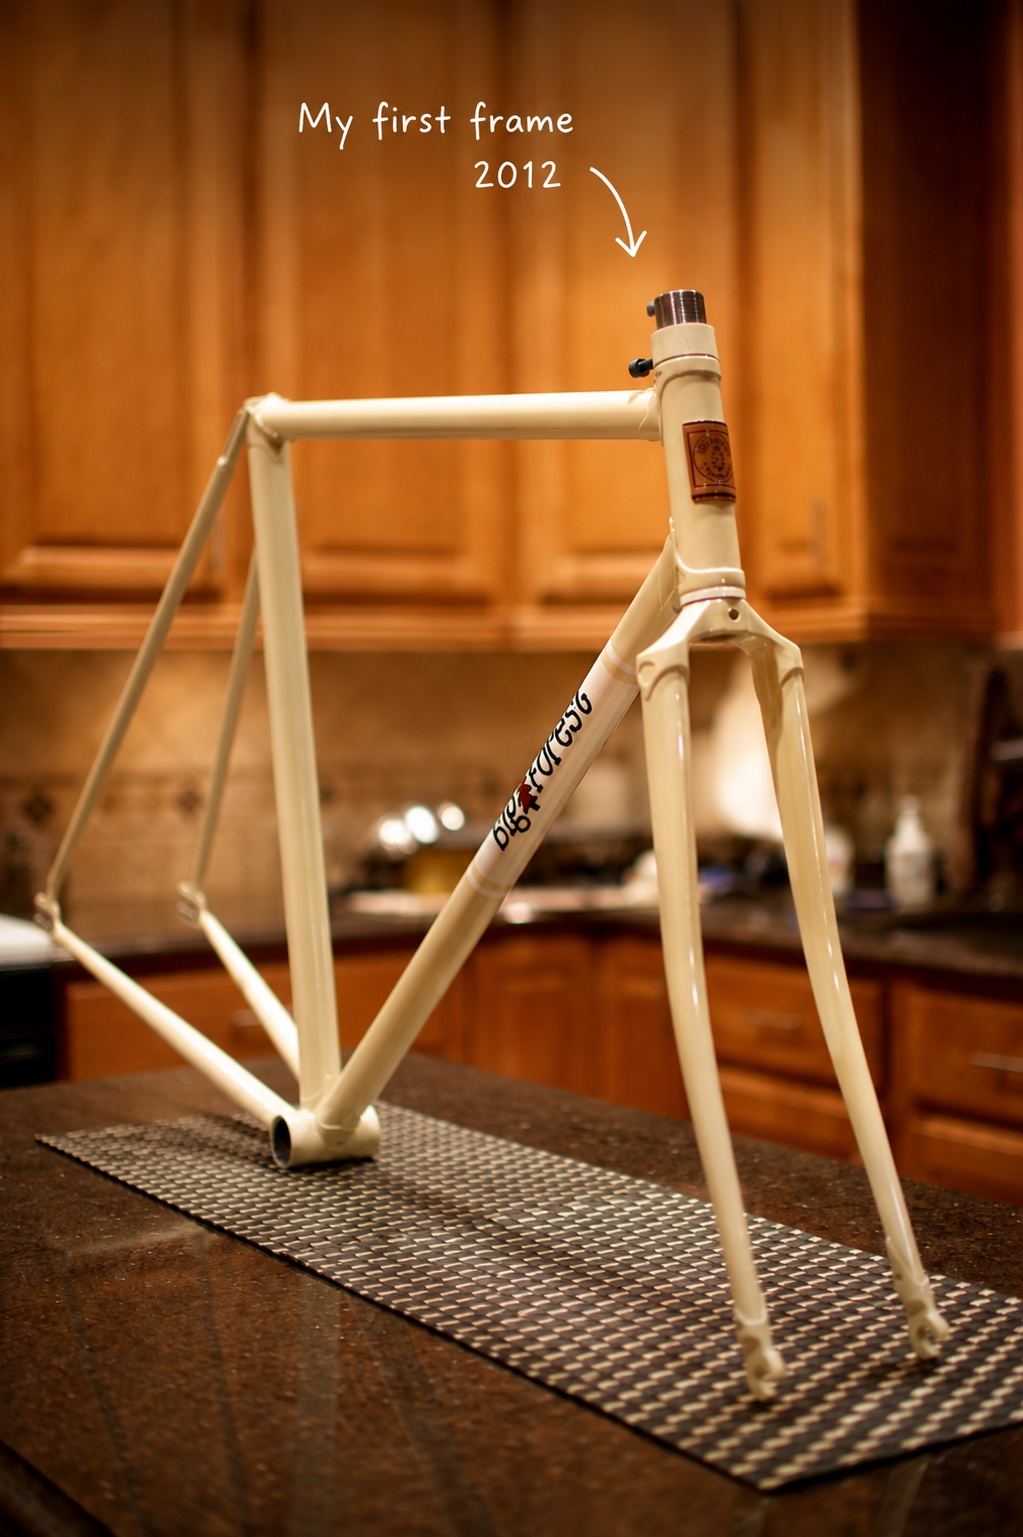
I built my first bicycle frame in 2012. Two years later, I started Big Forest Frameworks, and I’ve been building and teaching framebuilding ever since.

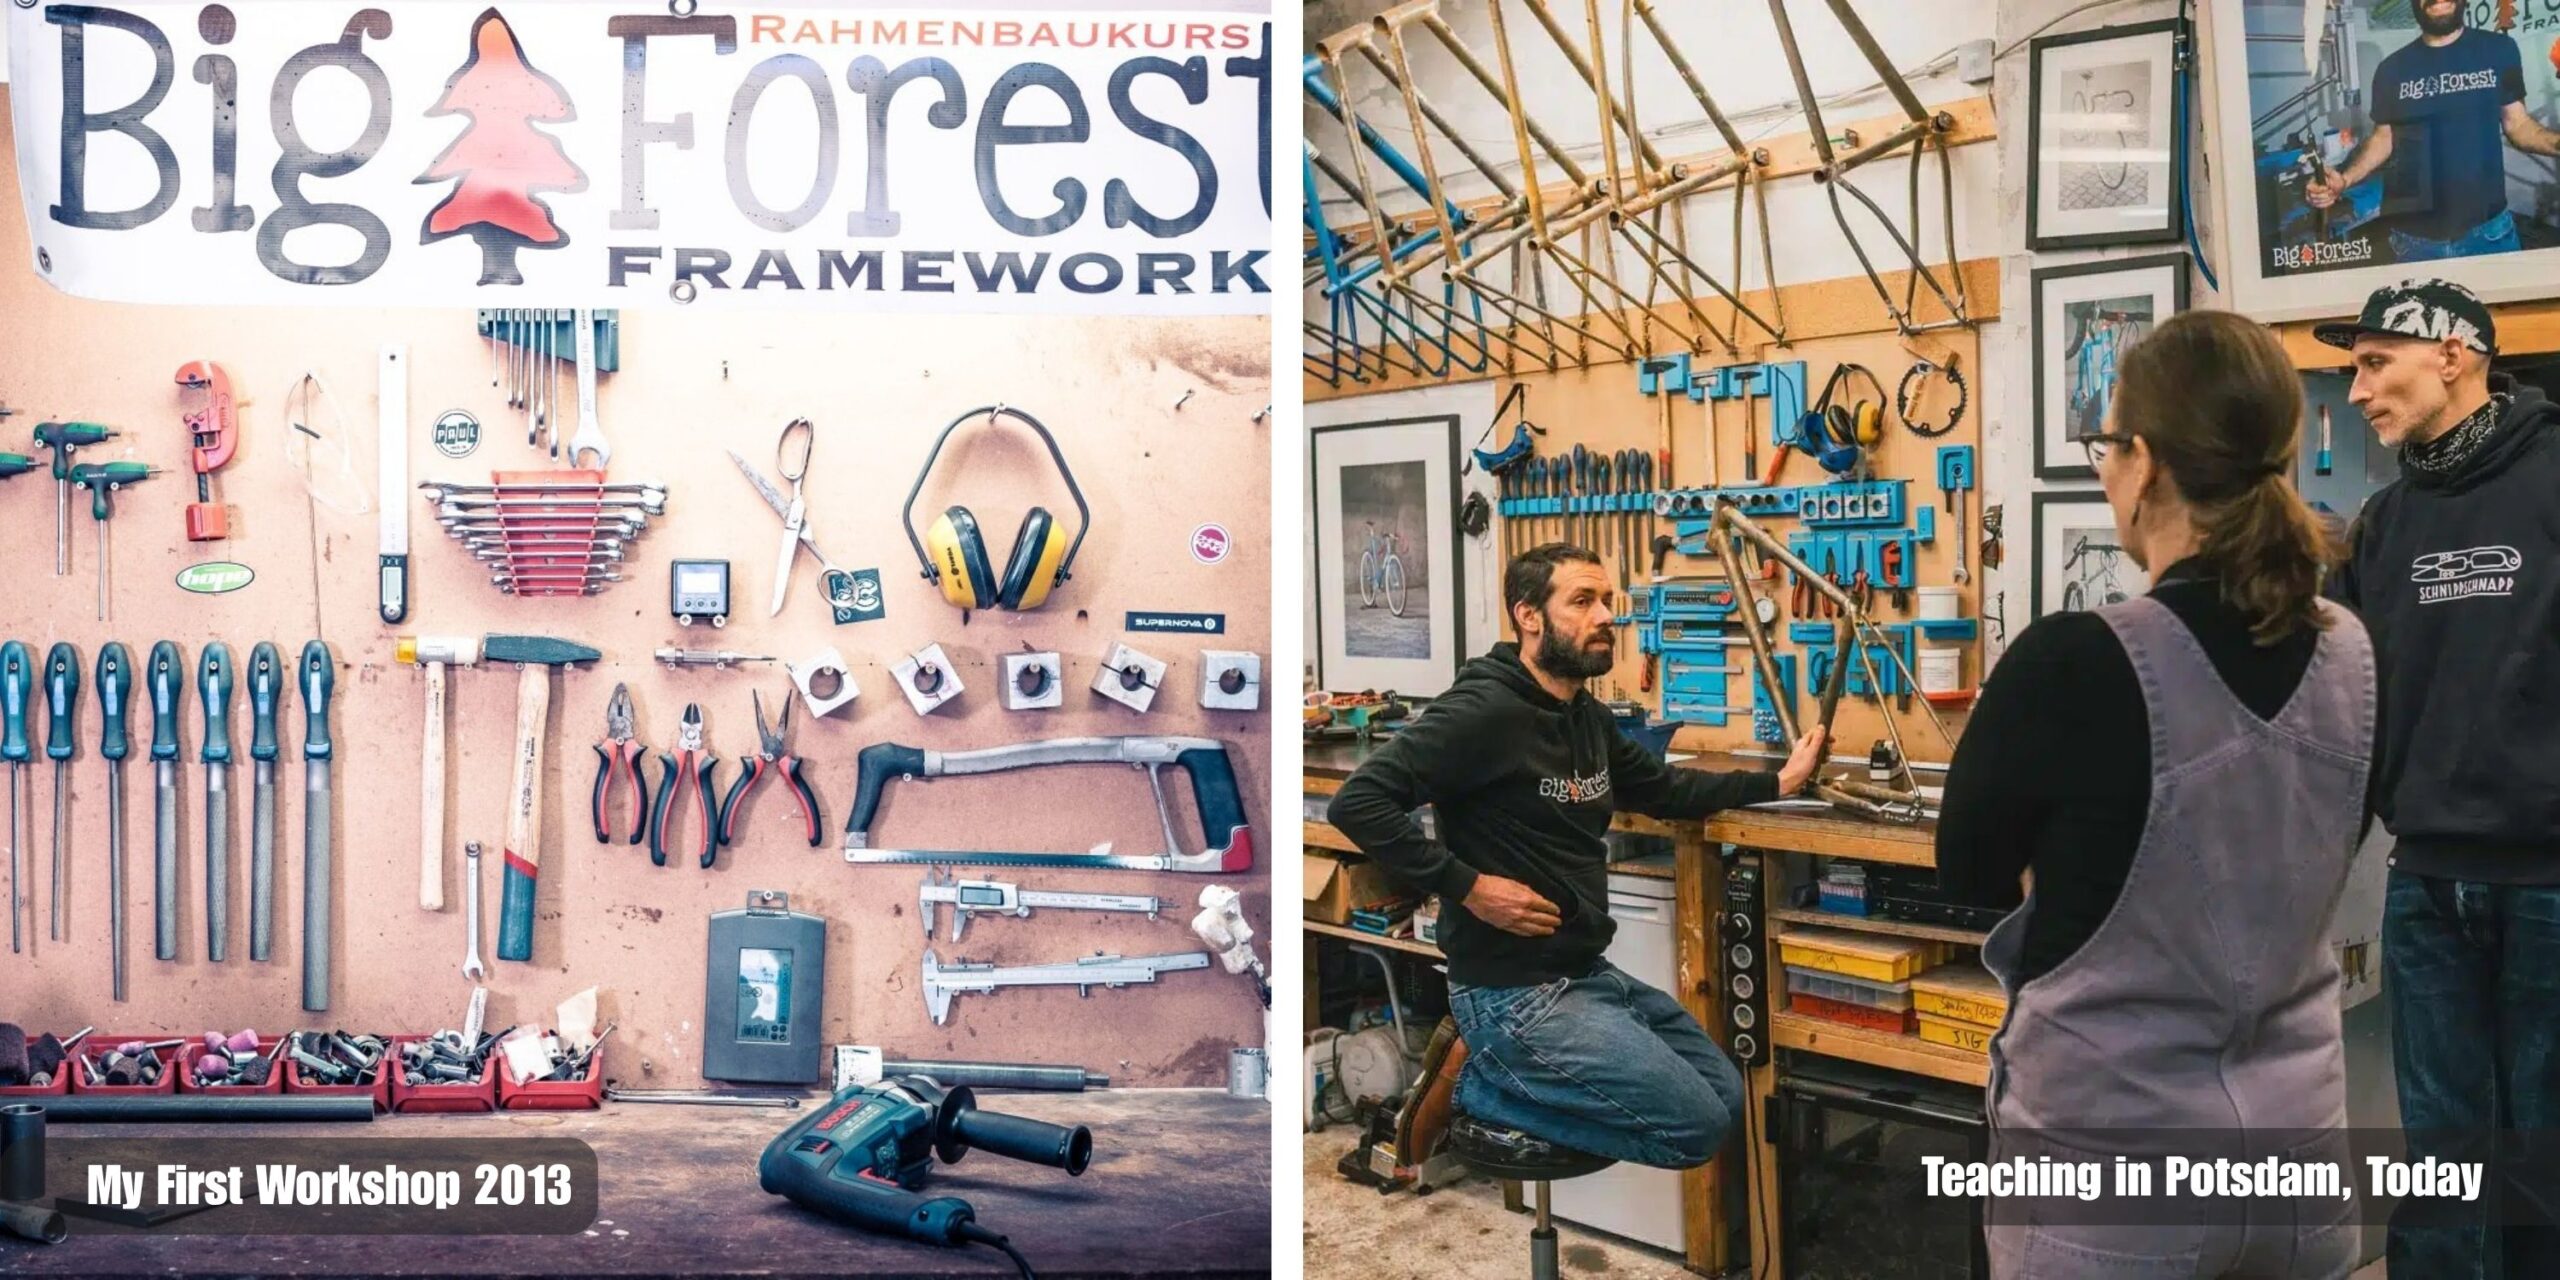
Over the years, more than 600 people have come through our workshop in Potsdam to build their own frames. Most weren’t framebuilders when they arrived. Many had little or no experience working with metal.

Teaching that many first-time builders has taught me something beyond simply knowing how to build a bicycle frame myself: I know where beginners struggle, what tends to go wrong, and how to help someone through it.

And when I started, I had almost nothing. No professional framebuilding workshop and no collection of expensive specialist tools. I built my first frames with the bare minimum of equipment I could afford, adding tools only when I really needed them.

I remember what it’s like to start from there. And that experience still shapes the way I teach today. I know what you need, what you don’t need, and where you can keep things simple.

That’s the experience I’ve put into this course.

Learn the skill everything else builds on.

If you’ve never built a bicycle frame before, brazing can feel like one of the biggest unknowns.

How much heat do you need? How should the joint fit before you start? How do you get the brass to flow where you want it? And how do you know whether the joint you’ve just made is actually good?

We’ve got you covered.

The Online Framebuilding Course includes complete access to 5 Day Fillet Brazers, my dedicated course for learning the core skill behind building a fillet-brazed steel frame.

And we start from the beginning. You don’t need previous brazing experience, and you don’t need to know which torch, filler material or equipment to buy.

You’ll learn how to set up your torch, prepare and fit your tubes, control the heat and guide the brass where you want it. You’ll practice building and finishing fillets, and learn how to look critically at your own work so you can understand what went right, what went wrong and what to change on the next joint.

The goal isn’t simply to watch me braze a bicycle frame.

It’s to give you a structured way to practice, understand what you’re doing, recognize your mistakes and improve.

By the time you’re ready to braze your own frame, you won’t be starting from zero.

Everything you need to build your first frame.

Building your first bicycle frame is a big project.

There will be moments when you aren’t sure what to do next. A joint won’t look the way you expected. A measurement won’t quite make sense. You’ll probably make a few mistakes.

That’s part of learning to build a frame.

But you won’t be figuring it out alone.

You’ll have the lessons to guide you through each stage, a group of other builders working through the same process, and experienced help when you get stuck.

You don’t need to know how to build a bicycle frame before you start.

You just need to be willing to learn.

The complete Online Framebuilding Course

The Online Framebuilding Course includes

24 step-by-step lessons in six modules, covering the complete process from designing your frame to getting it ready for paint.

Throughout the course, I demonstrate the process by building a steel gravel bike frame from start to finish. But the course isn’t about building one particular model. The principles and techniques you learn can be applied to road, gravel, mountain, touring and other types of steel bicycle frames.

You’ll have lifetime access to the course, so you can return to the lessons for your first frame, your second, or whenever you need them.

Six months of The Build

For six months, you’ll build alongside the other participants with weekly live online sessions where you can ask questions, show your work and get help when you need it.

You can work at your own pace. You don’t need to be at the same stage as everyone else.

5 Day Fillet Brazers

Full access to 5 Day Fillet Brazers is included, so you can learn and practice the brazing skills you’ll need before you start brazing your frame.

The course includes lifetime access to all lessons, full access to 5 Day Fillet Brazers, and six months of weekly live sessions and support.